

Last updated October 31, 2026
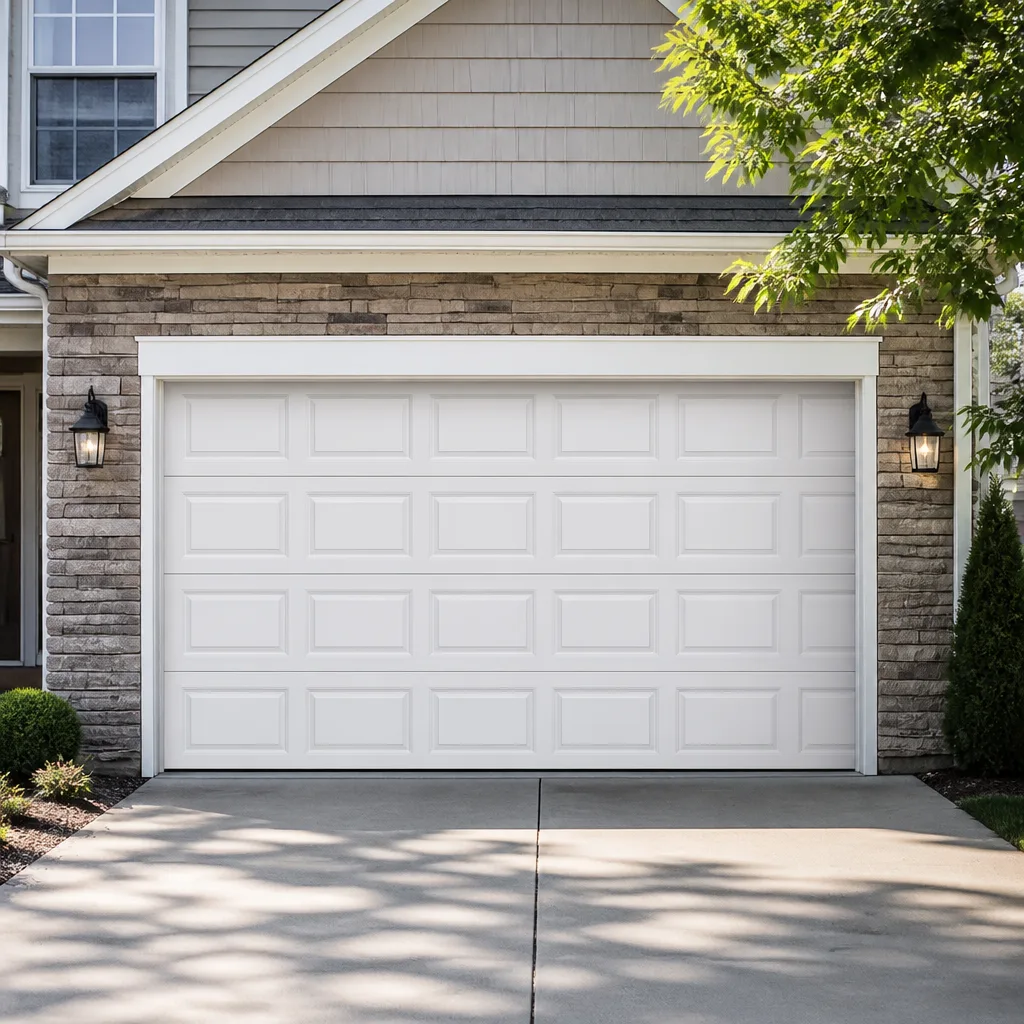 Raised-panel steel
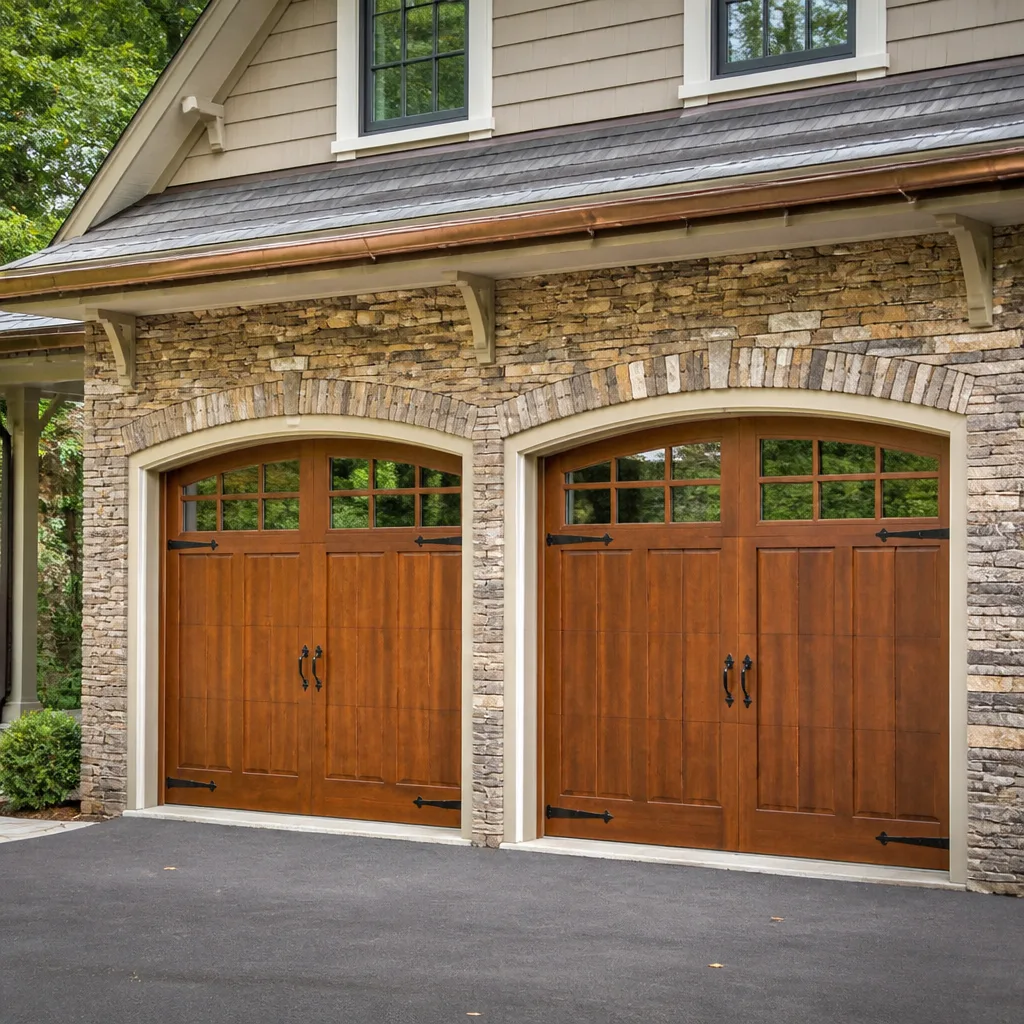 Carriage house
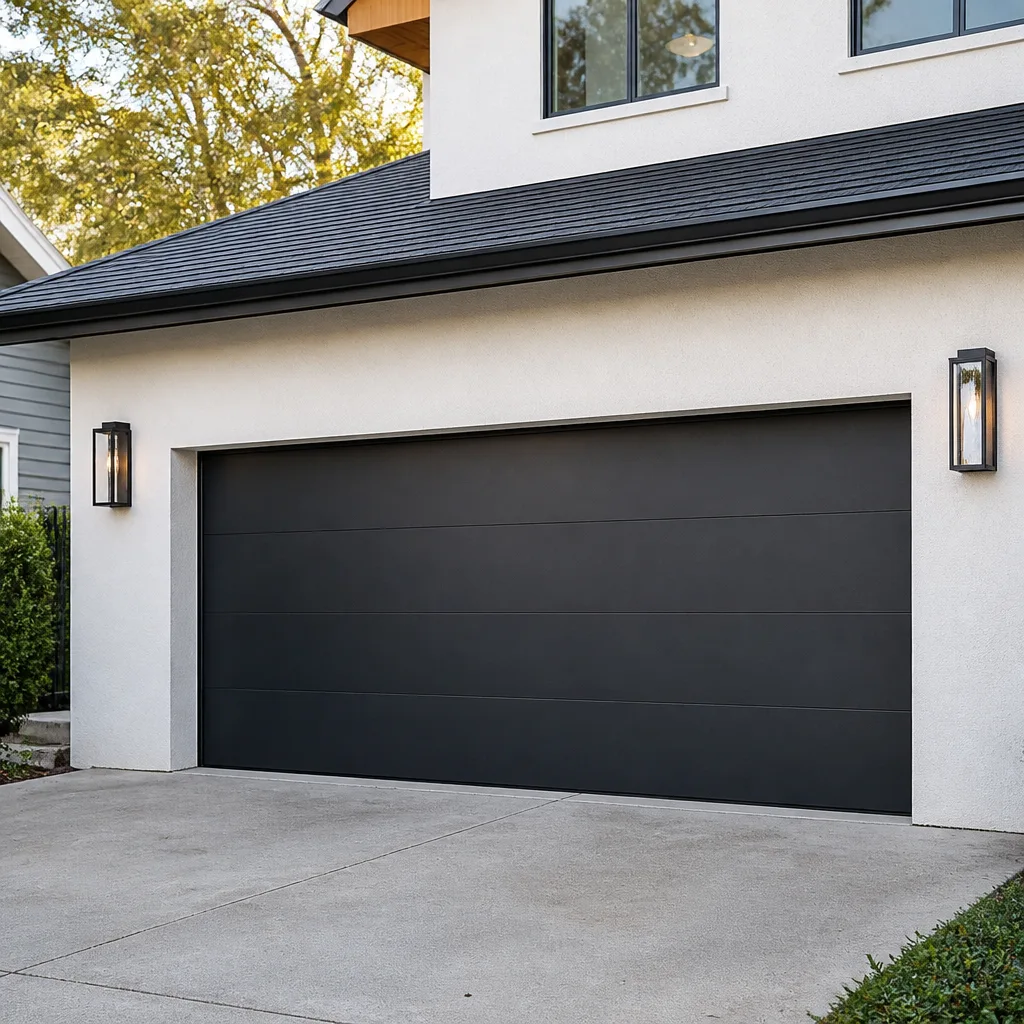 Modern flush
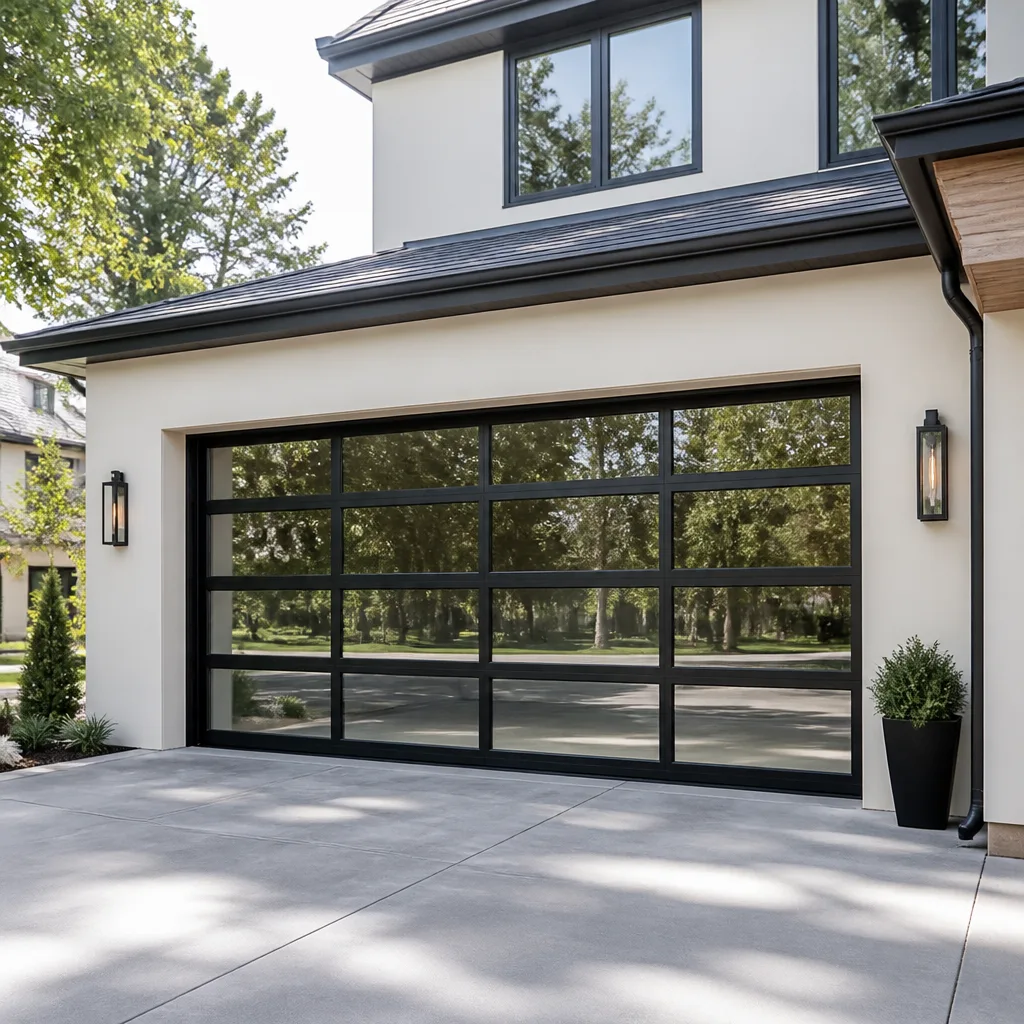 Full-view glass
 LiftMaster openers
 Chamberlain openers
Full 25-point door and opener safety check with every visit - springs, cables, rollers, tracks, and your LiftMaster or Chamberlain opener included
You get a price before we start. It does not change when the truck arrives.
Get your free estimateGarage Door Repair Troubleshooting: Common Problems and How to Fix Them
Most troubleshooting guides organize problems by part name: springs, rollers, sensors, openers. But that’s not how a technician actually diagnoses a garage door when they pull up to a house in San Diego. They listen. They watch. They run the door once and pay attention to where it hesitates, what it sounds like at each stage of travel, and how it sits when closed. A grinding noise and a squealing noise both register as “loud garage door” to a homeowner, but they point to entirely different failing components. If you lubricate rollers that are grinding because a torsion spring bearing is worn, you haven’t fixed anything. You’ve bought yourself a week, maybe two, and the real repair just got more expensive.
This guide works the same way a technician does. We’ll walk through symptoms in the order you’ll notice them: what you hear, what you see, what the door does when you press the button, and what the opener tells you with its blinking lights and error codes. By the time you finish, you’ll know which problems you can address safely and which ones mean it’s time to pick up the phone. Along the way, we’ll share what we’ve learned from years of our Garage Door Repair services across San Diego, where coastal salt air and inland heat combine to punish hardware in ways that surprise homeowners who’ve never thought about their garage door until it stops working.
Quick Answer
Most garage door problems fall into four categories: noise complaints, movement failures, closing/opening reversals, and opener communication errors. Noisy doors usually point to worn rollers, hinges, or spring bearings. A door that won’t move at all typically signals a broken spring, a disconnected opener, or a power issue. A door that reverses before fully closing is almost always a misaligned photo-eye sensor or a force-limit setting that’s drifted. Opener error codes tell you exactly which component the motor itself thinks is failing. The rules of thumb: if you see a broken spring or a frayed cable, stop and call a professional. If it involves the opener’s internals, stop and call a professional. If it’s a visible alignment issue, a dead battery, or a blocked sensor, you can likely fix it yourself in under an hour.
Styles & brands we work with
Table of Contents
- Symptom 1: The Door Is Loud – Grinding, Squealing, Rattling
- Symptom 2: The Door Won’t Open or Close at All
- Symptom 3: The Door Stops or Reverses Mid-Travel
- Symptom 4: The Door Opens Slowly or Jerks
- Symptom 5: The Door Sits Unevenly or Has Visible Gaps
- Symptom 6: The Opener Runs but the Door Doesn’t Move
- Symptom 7: Opener Error Codes – What the Blinking Lights Mean
- Common Mistakes to Avoid
- When to Call a Professional
- Frequently Asked Questions
Symptom 1: The Door Is Loud – Grinding, Squealing, Rattling
Noise is the earliest and most useful diagnostic signal a garage door gives you. The tricky part is that different sounds overlap in ways that fool homeowners. Here’s what each sound means when we hear it on a service call in San Diego.
Grinding: A grinding sound almost always means metal parts are making contact without proper lubrication or clearance. The most common culprits are the rollers, especially if they’re metal rollers running in metal tracks. Over time, the bearings inside the roller wear down, and the roller stops spinning. Instead of rolling, it slides along the track. That sliding friction is the grinding you hear. In coastal neighborhoods like Point Loma or La Jolla, salt air accelerates bearing corrosion, so we see seized rollers more often there than inland. Fixing this means replacing the rollers, not lubricating them. Once a roller bearing is gone, no amount of spray will bring it back.
Squealing: A high-pitched squeal is different. That’s usually a torsion spring bearing losing its internal lubrication, or a hinge pin that’s gone dry. Spring bearings sit at the ends of the torsion tube above your door, and they take the full rotational load every time the door cycles. Here’s the key distinction: a squealing spring bearing is not an urgent structural risk, but it is one of the Garage Door Warning Signs: A San Diego Homeowner’s Reference Guide that the bearing is failing. Left unchecked, the bearing can seize, which transfers uneven force to the spring and shortens the spring’s life considerably. In our experience, a squeal that’s been ignored for a year is frequently followed by a broken spring.
Rattling: Rattling is loose hardware. Your garage door cycles hundreds of times a month, and every cycle applies vibration to every bolt, nut, and hinge along the door. Over time, things loosen. A quick diagnostic pass with a socket set will catch most rattles, but don’t ignore the ones that persist after tightening. Loose track brackets, especially on the curved section where the track transitions from vertical to horizontal, can allow the track to shift just enough that the rollers bind. That misalignment then creates the grinding sound we described above. One symptom becomes two.
What to do right now:
- Open and close the door manually using the emergency release cord. Listen closely. If the noise disappears when you move it by hand, the problem is in the opener mechanism, not the door hardware.
- If the noise persists, note where it’s loudest: near the top of the door (spring bearings), along the sides (rollers and tracks), or at the hinges (hinge pins).
- Tighten any visibly loose bolts with a socket set. Use a 7/16-inch or 1/2-inch socket; that covers most residential door hardware.
- If the sound is a squeal coming from the spring assembly, stop there. Spring bearings are under tension, and the repair is a job for a technician who works with this hardware every day.
Symptom 2: The Door Won’t Open or Close at All
A door that won’t budge is the most alarming failure and the one where homeowners most often misdiagnose the problem. Here’s the decision tree we work through, and you should too.
Step 1: Is the opener getting power? Check the outlet the opener plugs into. It sounds obvious, but we’ve arrived at dozens of homes across San Diego where the problem was a tripped GFCI outlet in the garage, especially in older homes where the garage circuit is shared with an exterior outlet that got wet during a storm. Check the breaker as well. LiftMaster and Chamberlain openers have a green LED on the back of the motor housing. If it’s lit, the opener has power. If it’s dark, you’ve found your problem.
Step 2: Is the opener connected to the door? Pull the emergency release cord, which hangs from the trolley. If you can now lift the door by hand, the opener’s trolley is disconnected or the opener’s drive gear has failed. If you cannot lift the door by hand, the problem is in the door itself.
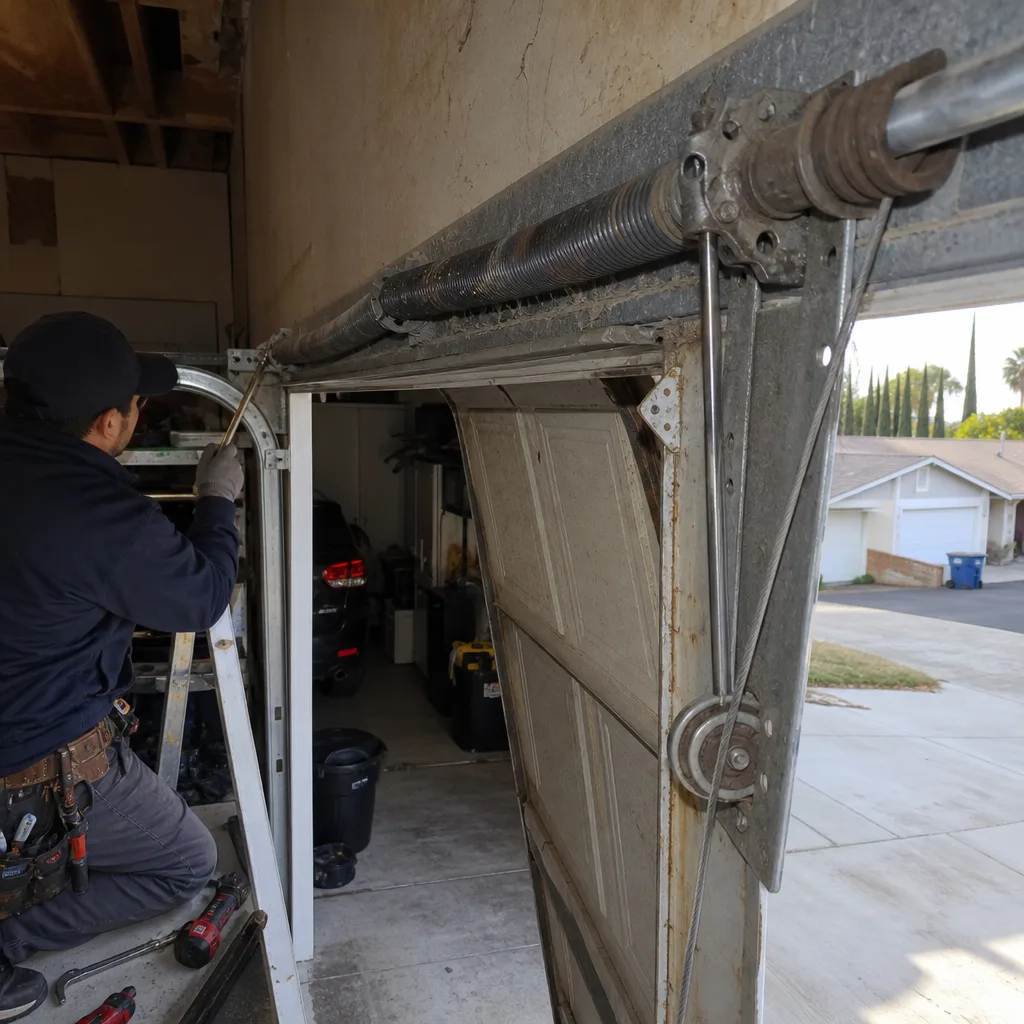
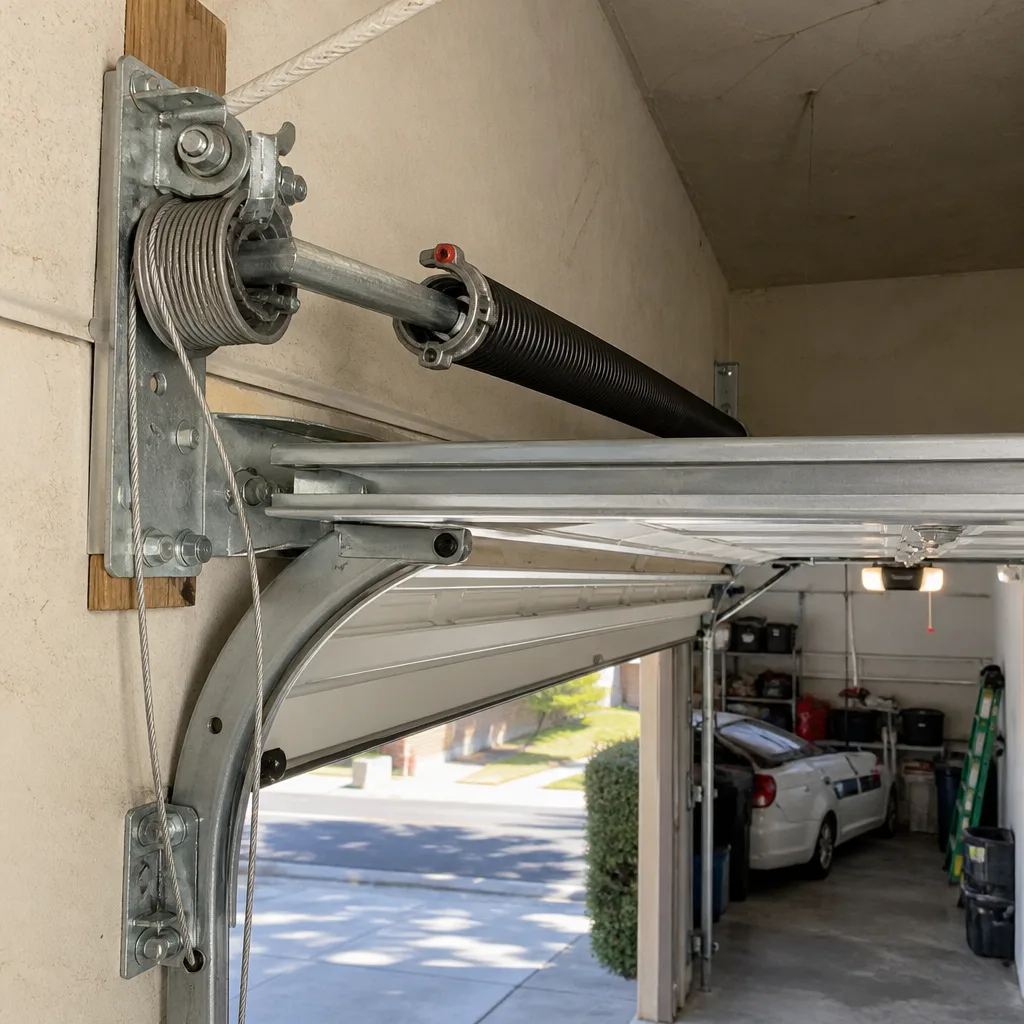
Step 3: If you can’t lift the door manually, look at the springs. This is where we need to be direct about safety. A residential garage door can weigh between 130 and 400 pounds depending on material and size. The springs, not the opener, carry most of that weight. If one or both torsion springs are broken, you’ll see a visible gap in the spring coils above the door, typically about two inches wide. If you see that, stop. Do not attempt to lift the door. Do not attempt to remove the spring. Torsion springs are under hundreds of pounds of rotational force, and a failure can cause serious injury. Call a professional.
Step 4: If the springs are intact and you still can’t lift the door, check the tracks. A door that’s jumped its track will feel wedged, not heavy. Look for a gap between the roller and the track on one side, or a bent track section near the bottom of the door’s travel arc. This is also a stop-point. Getting a door back on track requires releasing the tension safely and reseating the rollers, and doing it wrong can cause the door to fall.
In San Diego, the most common no-movement failure we see in the summer is a broken spring. Heat doesn’t directly cause spring failure, but the thermal cycling between hot afternoons and cool coastal mornings fatigues the metal over time. A spring that’s rated for 10,000 cycles typically lasts 7 to 12 years in San Diego’s climate, which means most original springs are already past their service life by the time a homeowner calls us.
Symptom 3: The Door Stops or Reverses Mid-Travel
A door that starts moving and then stops or reverses before completing its cycle is sending you a specific message: one of its safety systems is engaged. This symptom splits into two distinct categories.
Category 1: The door reverses as it’s closing. This is almost always the photo-eye sensors, the two small units mounted on either side of the door about six inches off the ground. They project an invisible beam across the door opening, and if anything interrupts that beam, the opener refuses to close the door. The most common causes are misalignment, dirty lenses, or, in San Diego garages, something as simple as a rake, broom, or box that has shifted into the beam’s path. Direct sunlight can also blind the sensors, especially on west-facing garage doors in the late afternoon when the sun is low. In neighborhoods like Del Cerro or Mission Trails where many garages face west, we see this sunlight interference pattern regularly.
Here’s your diagnostic sequence:
- Check the sensor lights. Both sensors should have a solid LED. On most LiftMaster, Chamberlain, Genie, and Craftsman models, one sensor has a green light (sending) and one has an amber or red light (receiving).
- If one light is blinking or dark, the beam is interrupted or the sensors are misaligned. Gently rotate the sensor units until the lights turn solid.
- Wipe the sensor lenses with a soft cloth. Even a thin film of garage dust or cobweb silk can break the beam.
- If the problem happens only in the afternoon, it’s the sun. A simple fix is to swap the two sensors so the receiving sensor is on the shaded side, or to create a short shade hood for the sensor using a piece of cardboard taped above it. This isn’t elegant, but it works.
Category 2: The door reverses as it’s opening, or stops halfway up. This points to the opener’s force-limit settings. The opener measures resistance as it moves the door, and if it senses more resistance than its limit allows, it assumes the door has hit something and reverses. Over time, as rollers wear and tracks drift, the door’s natural resistance increases. The opener, which was calibrated perfectly at installation, is now hitting its limit.
The fix is a force-limit adjustment, which is done through the opener’s control panel on most modern models. On older Genie openers, it’s a pair of small dials on the back of the motor. The correct approach is to adjust incrementally, testing the door after each small change, not to crank the force up until the door muscles through whatever is resisting. A force limit set too high is a safety hazard: it means the door will keep pushing even when it should stop, which is how fingers get pinched and doors get pulled off their tracks. If a small adjustment doesn’t solve the problem, the underlying friction issue needs to be fixed, not overridden by the opener.
Symptom 4: The Door Opens Slowly or Jerks
This symptom is often dismissed as an annoyance rather than treated as a warning. That’s a mistake. A door that’s slowed down or developed a jerky, stuttering motion is telling you that something is binding, and binding is progressive. It gets worse until the door stops moving entirely, usually at the worst possible time.
Start by disconnecting the opener and running the door by hand. A properly balanced door should lift smoothly with roughly 10 to 15 pounds of force at any point in its travel. It should also stay put when you let go at the halfway point. If the door is significantly harder to lift at one specific point in its travel, that’s your binding location.
The most common cause of a jerky door is a roller that’s no longer rolling. When a roller seizes, the door drags that corner upward instead of rolling, which torques the entire door slightly off-square. The opener compensates by pushing harder, which creates a stutter-jerk pattern as the door flexes and catches against its tracks. Replacing the rollers solves this. In homes near the coast in San Diego, we’ve also seen corrosion inside the track itself create a rough surface that catches the rollers as they pass. In those cases, the track needs to be cleaned and lightly lubricated, or in severe cases, replaced.
A less common but important cause is a failing drive gear inside the opener itself. This is more typical on older chain-drive openers, particularly Craftsman and early LiftMaster models that used a plastic gear set. When that gear wears, the door moves in a series of tiny jerks as the gear teeth skip. You’ll also hear a clicking sound from the motor housing. This is an opener repair, not a door repair, and it’s repairable on most models by replacing the gear assembly, which costs far less than a new opener.
Here in San Diego, the slow-door complaint is most frequent in the late summer, and there’s a reason for it. Wood doors absorb moisture from coastal humidity and swell slightly, which increases the door’s weight and friction. If your wood door feels heavier in August than it did in January, that’s the humidity, and it’s usually temporary. But it’s also a signal to have your spring balance checked, because a door that’s already slightly out of balance will bind sooner when it swells.
Symptom 5: The Door Sits Unevenly or Has Visible Gaps
An uneven door is an early-warning symptom that goes overlooked more than any other. Homeowners see the gap at the bottom, shrug, and figure they’ll deal with it later. But a door that’s not closing evenly is applying uneven force to its own springs, which shortens their life. In San Diego, where most garage doors are used daily, that uneven force can take years off a spring’s service life without the homeowner ever realizing it.
To check for evenness, close the door and look at the gap between the bottom of the door and the floor. If you can see daylight or feel air movement on one side but not the other, the door is out of level. Now look at the vertical tracks on both sides. A properly aligned door should have an even gap between the door edge and the track on both sides from top to bottom. If one side is tighter at the bottom, that side has shifted.
The story this tells depends on what else you’re seeing:
- Uneven at the bottom, with a visible fracture in the spring above: One spring is broken. The door is now supported on only one side, which is why it’s dropping. This is a professional repair, and you should not run the door again until it’s fixed, because the remaining spring is now carrying the full load and can fail catastrophically.
- Uneven at the bottom, springs intact, one cable is tight and the other is slack: A cable has slipped on its drum. This can happen when the door is forced manually without disconnecting the opener first, or when a cable corrodes and develops a weak point. This is also a professional repair, because the cable system is under the same tension as the springs.
- Even gaps on both sides but a gap at the bottom on one end: This usually means the door’s bottom edge is damaged or warped, not the door’s alignment. Common on older wood doors that have absorbed moisture or on metal doors that have been struck by a car bumper. In this case, the fix is a new bottom seal or a new bottom section, not a track adjustment.
If you have an uneven door and you’re not sure which situation you’re in, the safe move is to stop using the door and call for an inspection. See How to Hire a Garage Door Contractor in San Diego: A Step-by-Step Guide to know what to ask. The cost of an inspection is small compared to the cost of a dropped door or a spring that lets go while the door is in motion. We’ve seen the aftermath of both, and it’s never worth the risk.
Symptom 6: The Opener Runs but the Door Doesn’t Move
This is the one that confuses people, because the motor is clearly working. You press the button, the opener hums or runs, but the door just sits there. The key question is whether the opener’s trolley is moving along its rail.
If the trolley moves but the door doesn’t, the trolley has disconnected from the door. This usually happens for one of two reasons: someone pulled the emergency release cord and didn’t reconnect it, or the trolley’s internal connection to the door arm has worn out. To reconnect, run the opener through a full cycle with the door in the closed position. On most LiftMaster, Chamberlain, Genie, and Craftsman models, the trolley will automatically re-engage with the door arm when the opener runs past the connection point. You’ll hear a click when it catches.
If the trolley doesn’t move but the motor runs, the drive mechanism inside the opener has failed. On chain-drive and screw-drive openers, this is typically a broken or stripped gear. On belt-drive openers, it’s usually a snapped belt or a failed drive pulley. You can inspect this yourself by removing the opener’s plastic cover and taking a look inside, but unplug the opener first. If you see a stripped gear with ground-down teeth, a snapped belt, or a screw drive that’s worn smooth, you’ve found your failure. These are repairable, but the repair requires opening the motor housing and replacing the failed component, which is a job we’d classify as a professional opener repair, not a DIY project.
The third possibility, and the one we see most often on coastal properties in San Diego, is that the door’s spring has broken and the opener can’t lift the door’s full weight anymore. The opener is running, but it’s pushing against a dead weight it was never designed to move on its own. In this case, the opener isn’t broken. It’s doing exactly what it should, and the spring needs to be replaced. Running the opener repeatedly against that load is a good way to burn out the opener’s drive gear, which turns one repair into two.
Symptom 7: Opener Error Codes – What the Blinking Lights Mean
Modern garage door openers talk to you through their LED lights and the arrow-style control panels. Learning to read these codes saves you a service call in some cases and helps you give a technician better information in others. Here’s what the most common codes mean on the brands we service most often.
LiftMaster and Chamberlain (including most Craftsman openers made since 2010):
- One blink, four blinks, or ten blinks on the motor unit: This indicates a sensor obstruction or misalignment. Check the photo-eye sensors first.
- Five blinks: The opener’s internal logic board is detecting a motor overheat condition. This is common in San Diego garages that trap heat, especially if the garage is not insulated. Let the opener cool for 30 minutes and try again. If it recurs, the motor may be wearing out.
- Arrow up and arrow down both flashing on the wall panel: The opener’s force monitor has been triggered three times in a row. The opener is telling you it’s struggling to move the door. This is your signal to check the door balance, not to reset the opener and try again.
Genie:
- Two red blinks: The sensors are blocked or misaligned. Same fix as above.
- Four red blinks: The motor’s thermal protection has engaged. Give it time to cool down.
- Solid red light on the wall console: On newer Genie models, this means the opener has locked out due to a safety reversal event. Check the door’s balance and the sensors, then reset the console.
The pattern matters. A single blink in a repeating pattern is different from five rapid blinks, and the difference tells you whether you’re dealing with a sensor, a motor, or a logic board. If you’re comfortable with a screwdriver, you can remove the opener’s cover and look for a printed code chart on the inside of the housing. Most manufacturers include one there.
One note for San Diego homeowners: if your opener is mounted in an uninsulated garage and you get heat-related error codes in the summer, the long-term fix is ventilation or insulation, not just repeated cool-down cycles. We’ve replaced openers that were killed by chronic overheating in east-county garages where interior temperatures routinely exceed 120 degrees. The opener failed early not because it was poorly made, but because it was operating outside its rated temperature range for years.
Common Mistakes to Avoid
- Spraying lubricant on a worn-out roller. Once a roller bearing is seized, lubricant can’t bring it back. What it does do is attract dust and grit, which makes the grinding worse over time. If the roller doesn’t spin freely when you touch it, it’s time for a replacement.
- Adjusting the force limit to maximum instead of fixing the underlying friction. This is the most dangerous mistake on this list. The force limit exists to protect people and property. A door that needs excessive force to move has a mechanical problem that needs a mechanical fix, not an electronic override.
- Ignoring a squealing spring bearing. That squeal is the bearing telling you it’s failing. Ignored long enough, it damages the torsion tube and shortens the spring’s life. A $40 bearing replacement becomes a several-hundred-dollar spring assembly repair.
- Replacing the opener when the spring is the problem. When a door suddenly won’t open, and the opener runs, many homeowners assume the opener is weak and call to buy a new one. We’ve responded to calls where a brand-new opener was installed and the door still wouldn’t move, because the spring that had failed was never addressed. Diagnose before you buy.
- Using WD-40 on everything. WD-40 is a water displacer and a very light lubricant. It’s not the right product for garage door rollers, hinges, or springs. It evaporates quickly and leaves behind a film that attracts dirt. Use a silicone-based lubricant for rollers and a white lithium grease for hinges and spring components. In San Diego’s dry climate, the wrong lubricant dries out even faster.
- Continuing to use a door with a known broken spring. When a spring breaks, the door can drop hard if the cable also lets go. Even if the opener still manages to move the door, every cycle is putting stress on components that weren’t built for the load. Stop using the door and make the call.
When to Call a Professional
Here’s the line we draw for our own customers, and it’s simple to follow. If you see a broken spring or a frayed cable, call a professional. The tension in those systems is unforgiving, and the injury risk is real. If the door has jumped its track, call a professional. If the opener’s internal gears have failed and you’d rather not open the motor housing, call a professional. If you’ve been through the diagnostics above and the door still isn’t behaving, call a professional with enough information to dispatch the right technician. Admiral Garage Door Repair offers free estimates in San Diego. Call (833) 467-4069 and describe your symptom. The more specific you are about what you’re hearing and seeing, the faster the repair goes.
One thing worth saying plainly: the cost of a diagnostic visit is almost always less than the cost of replacing the wrong part yourself. For more guides & resources on avoiding common mistakes, explore our blog. We’ve seen homeowners replace sensors when the problem was a force-limit setting, replace openers when the problem was a spring, and replace springs when the problem was a seized roller. The diagnostic is where the money is saved.
Frequently Asked Questions
A sudden increase in garage door noise usually means a bearing or roller has failed, not that the door needs lubrication. The specific sound matters: grinding points to seized rollers, squealing to a failing spring bearing, and rattling to loose hardware. Check the door by hand using the emergency release, note where the noise is loudest, and address that specific component. If you’re in San Diego’s coastal neighborhoods, corrosion from salt air is a likely contributor. Call (833) 467-4069 for a free estimate if you can’t identify the source.
No. Torsion springs are under hundreds of pounds of rotational force, and replacing one without the right tools and training can cause serious, even fatal, injury. Extension springs also carry substantial tension and can snap violently if mishandled. This is the one repair that’s never worth attempting as a DIY project. A professional spring replacement takes about an hour and includes proper balance adjustment afterward.
Garage door repair costs vary by the component and the door’s configuration, but common repairs in San Diego typically fall into predictable ranges. A roller replacement might run $120 to $220, a sensor replacement $150 to $250, and a spring replacement $250 to $450 depending on whether you have one spring or two. The most reliable way to get a real number is a free estimate, and Admiral Garage Door Repair provides those throughout San Diego. Call (833) 467-4069 and we’ll quote the job before any work begins.
A door that touches the floor and then reverses is usually seeing an obstruction or a force-limit setting that’s too sensitive. Start by checking that the bottom seal isn’t catching on anything, then check the close-force setting on your opener. If the setting is correct and the problem persists, the door’s balance may have shifted, which changes how the opener reads the load at the bottom of travel. A weight-balance check by a technician will confirm whether the springs or cables are the underlying cause.
Most LiftMaster, Chamberlain, Genie, and Craftsman openers reset automatically when power returns, but the door’s travel limits may need recalibration if the outage interrupted a cycle. Press and hold the wall button until the door completes a full open and close cycle. If the door doesn’t return to its normal position or the opener flashes an error code, refer to the code chart in your manual or on the inside of the opener’s housing. Persistent errors after a reset usually mean a sensor or logic-board issue that needs professional attention.
For a typical San Diego homeowner, the decision comes down to the failure mode and the opener’s history. If the failure is a worn gear or a snapped belt, and the opener has otherwise been reliable, a repair is often the right call and costs less than replacement. If the opener has been repaired twice already, or if you’re seeing motor overheat errors regularly, a replacement is the better long-term investment. We repair and replace both, so our recommendation is based on what we find, not on what we’d prefer to sell.
The Bottom Line
Your garage door speaks before it fails. The noise it makes, the way it moves, the way it sits when closed, and the error codes it blinks are all diagnostic information. The skill is knowing what each signal means and which ones are safe to address yourself. Seized rollers, dirty sensors, dead remote batteries, and loose hardware are all fixable by a careful homeowner. Broken springs, slipped cables, off-track doors, and internal opener failures are not. When in doubt, the cheapest decision is a diagnostic call, not a parts purchase. Admiral Garage Door Repair serves San Diego with exactly that kind of focused, diagnostic-first service. Call (833) 467-4069 for a free estimate, and tell us what your door is saying. We’ll tell you what it means.
Written by the team at Admiral Garage Door Repair, serving San Diego since 2015. Learn more about our services across the region: Garage Door Repair in Rancho Santa Fe, Garage Door Opener Repair in Rancho Santa Fe, and Garage Door Installation in Rancho Santa Fe.
See the difference
 Before
 After
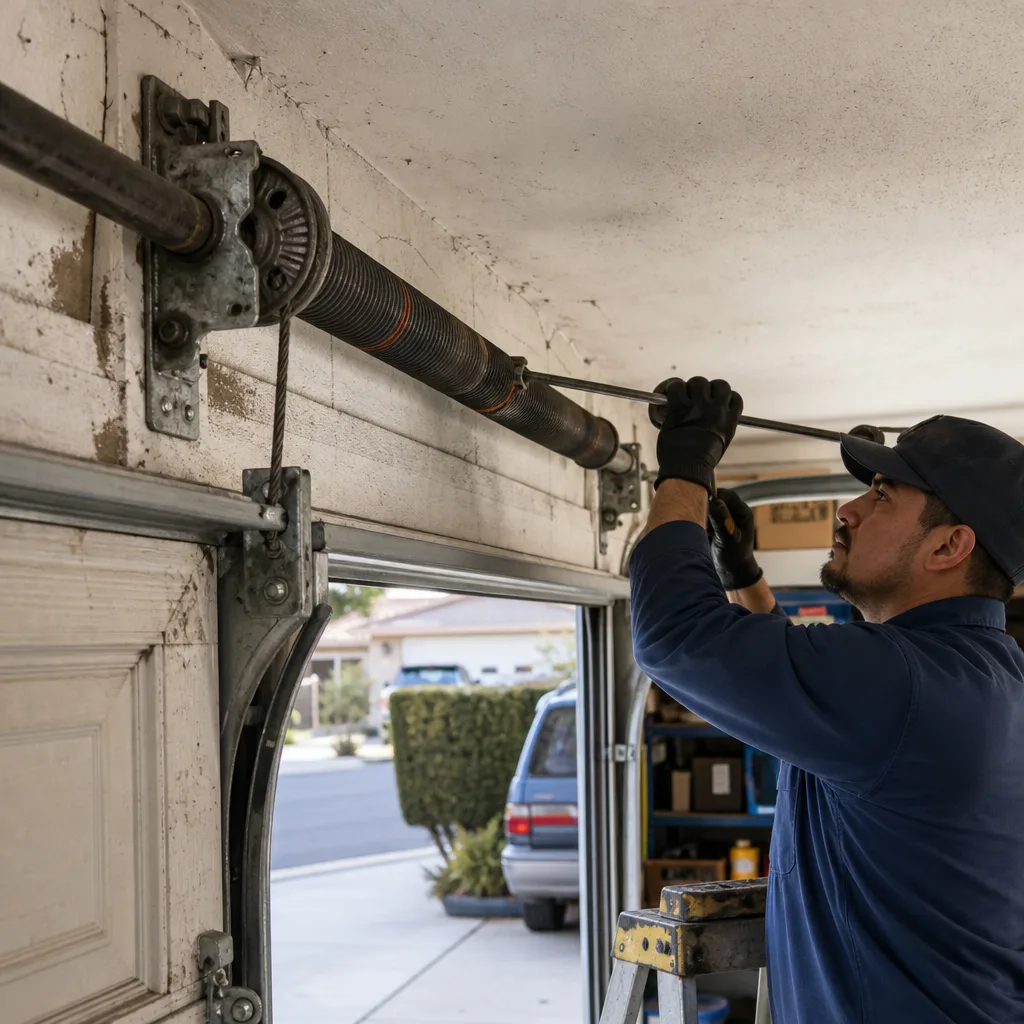 Before
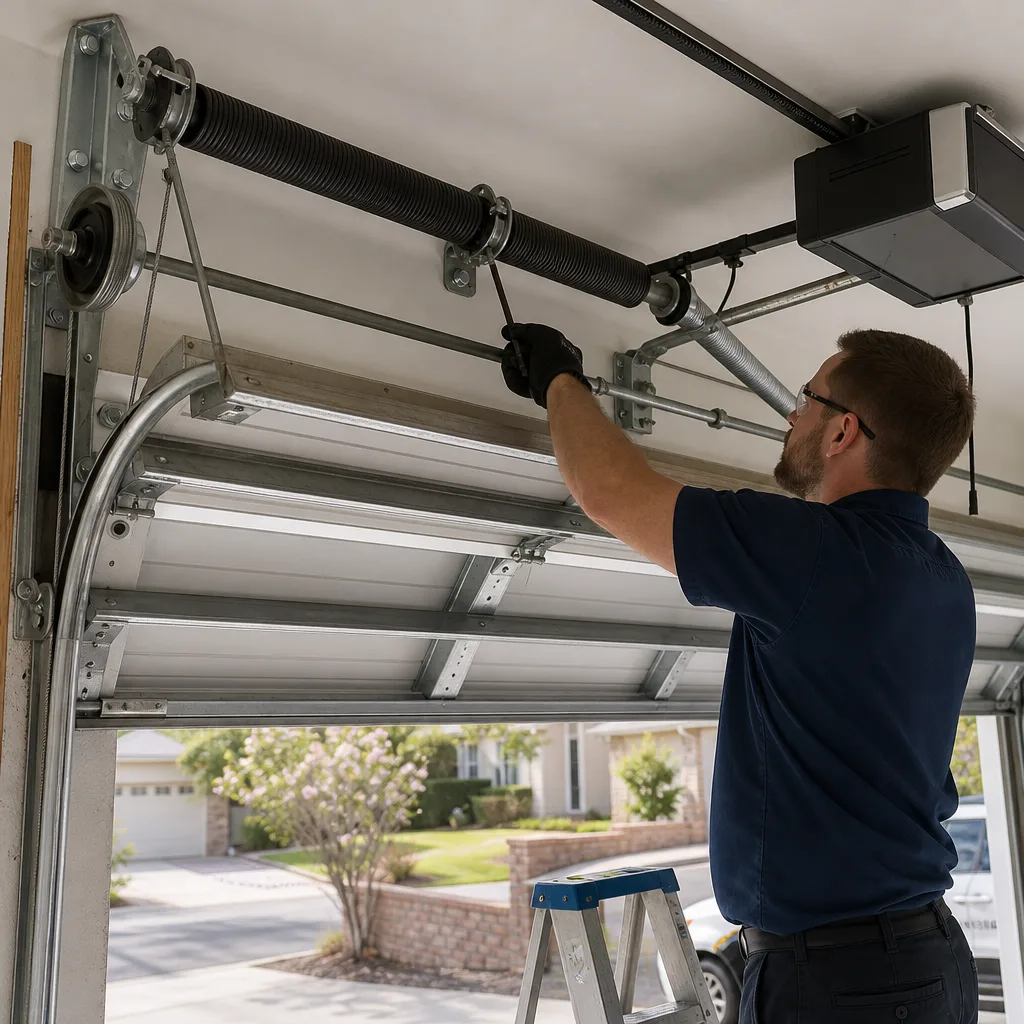 After
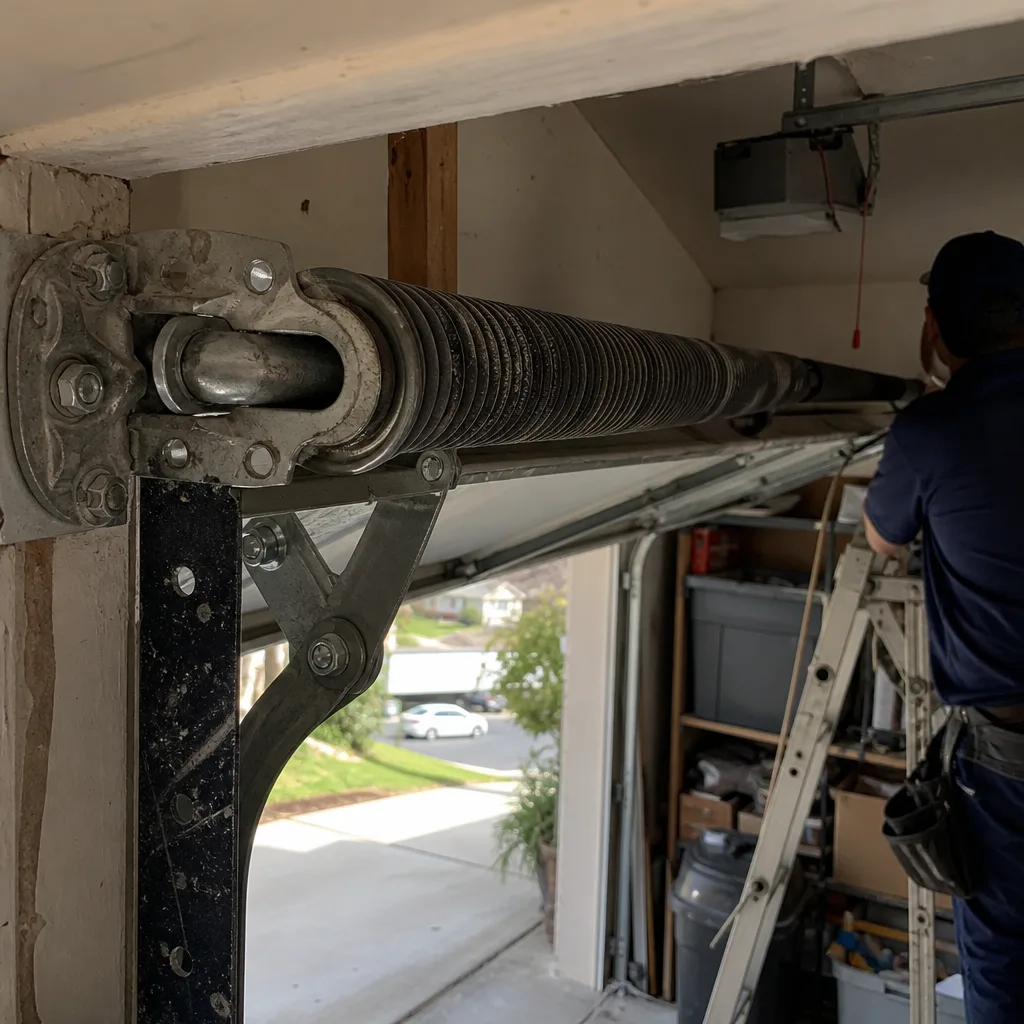 Before
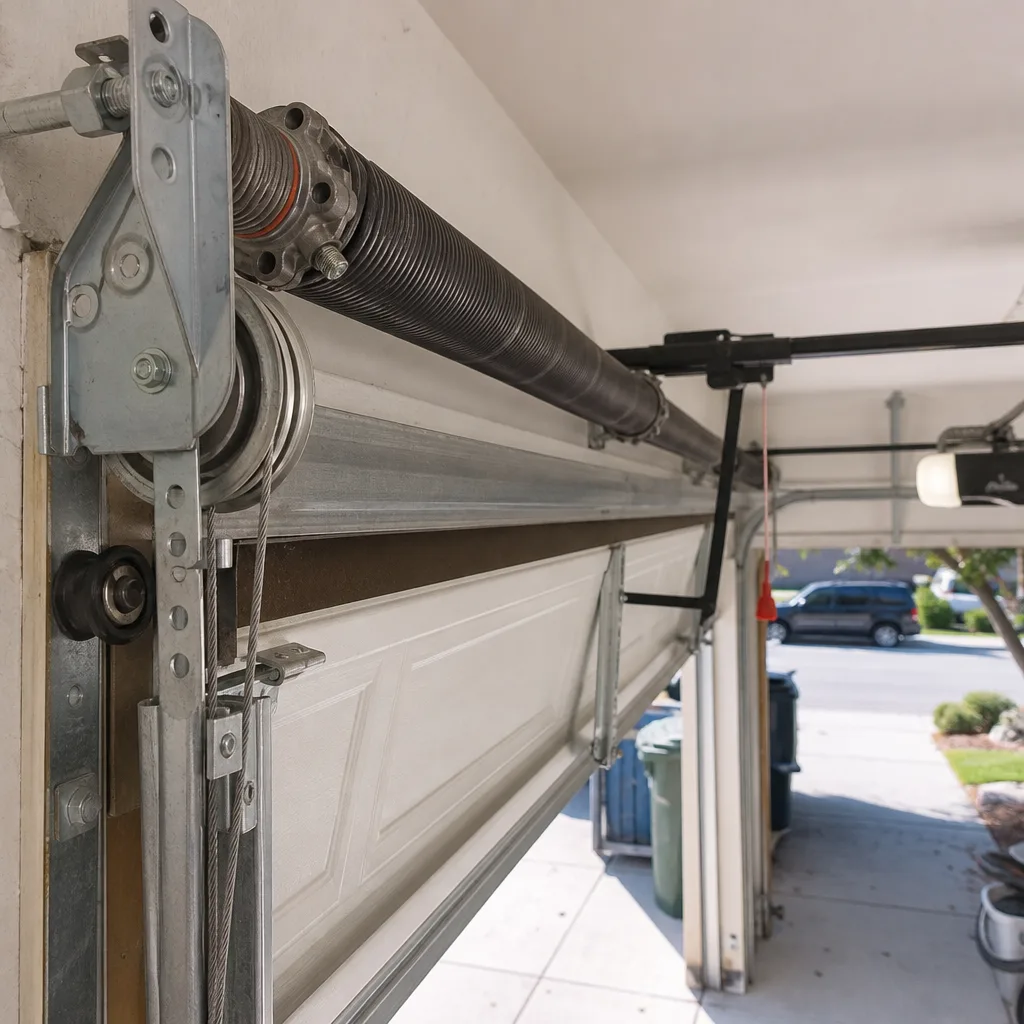 After