

Last updated October 31, 2026
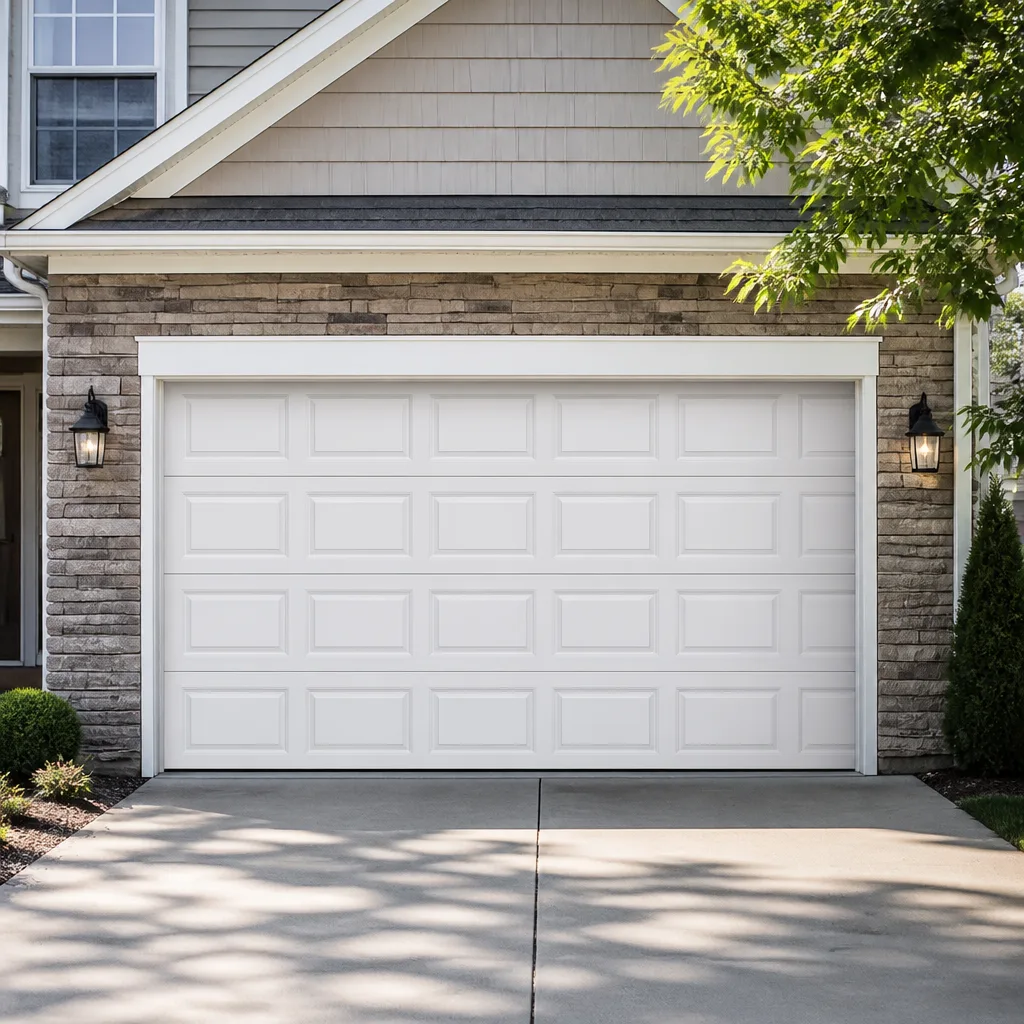 Raised-panel steel
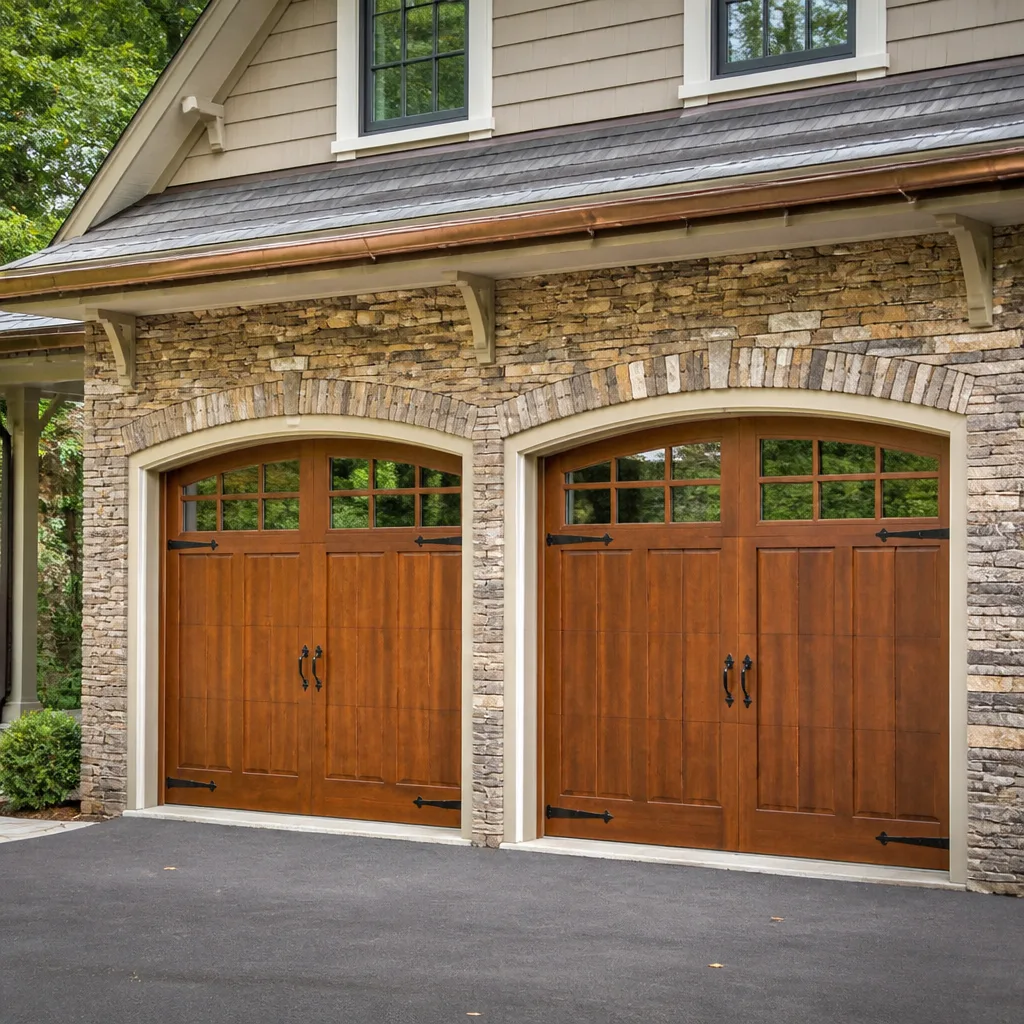 Carriage house
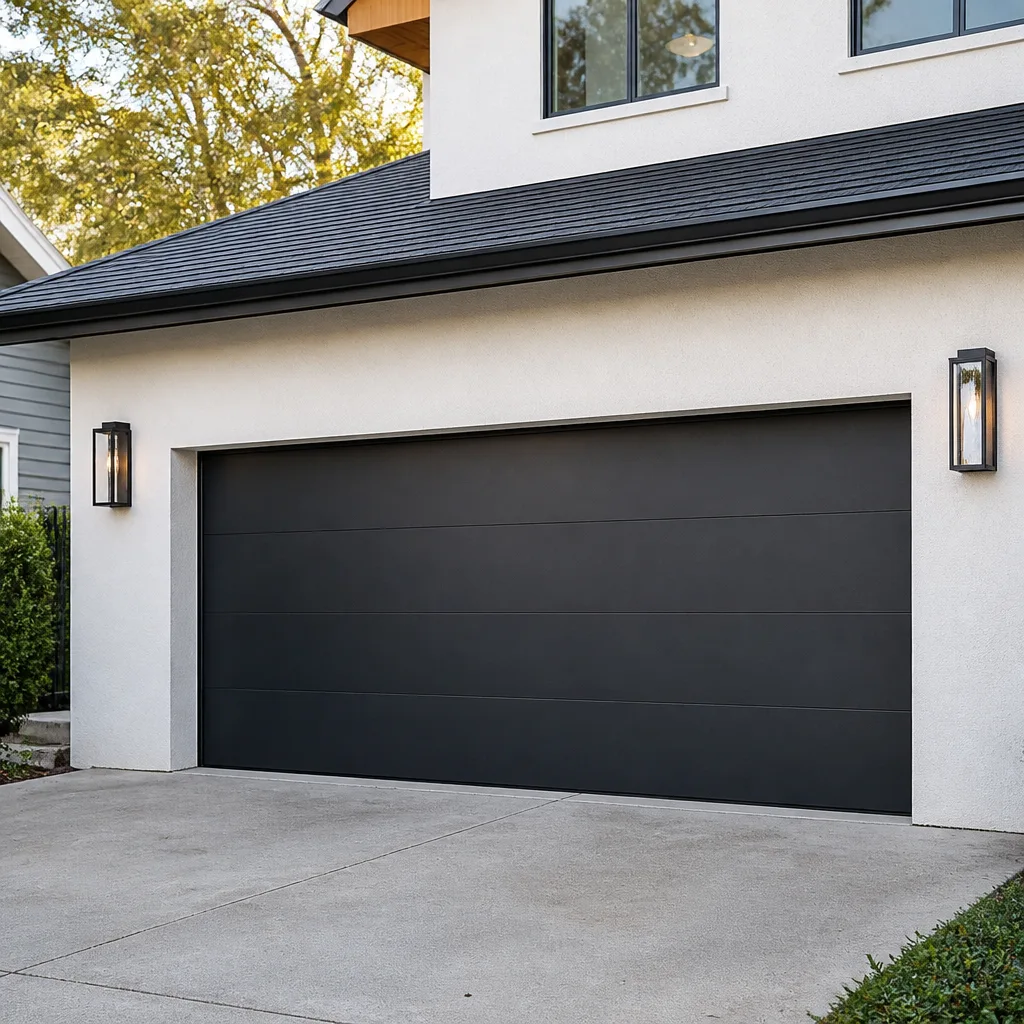 Modern flush
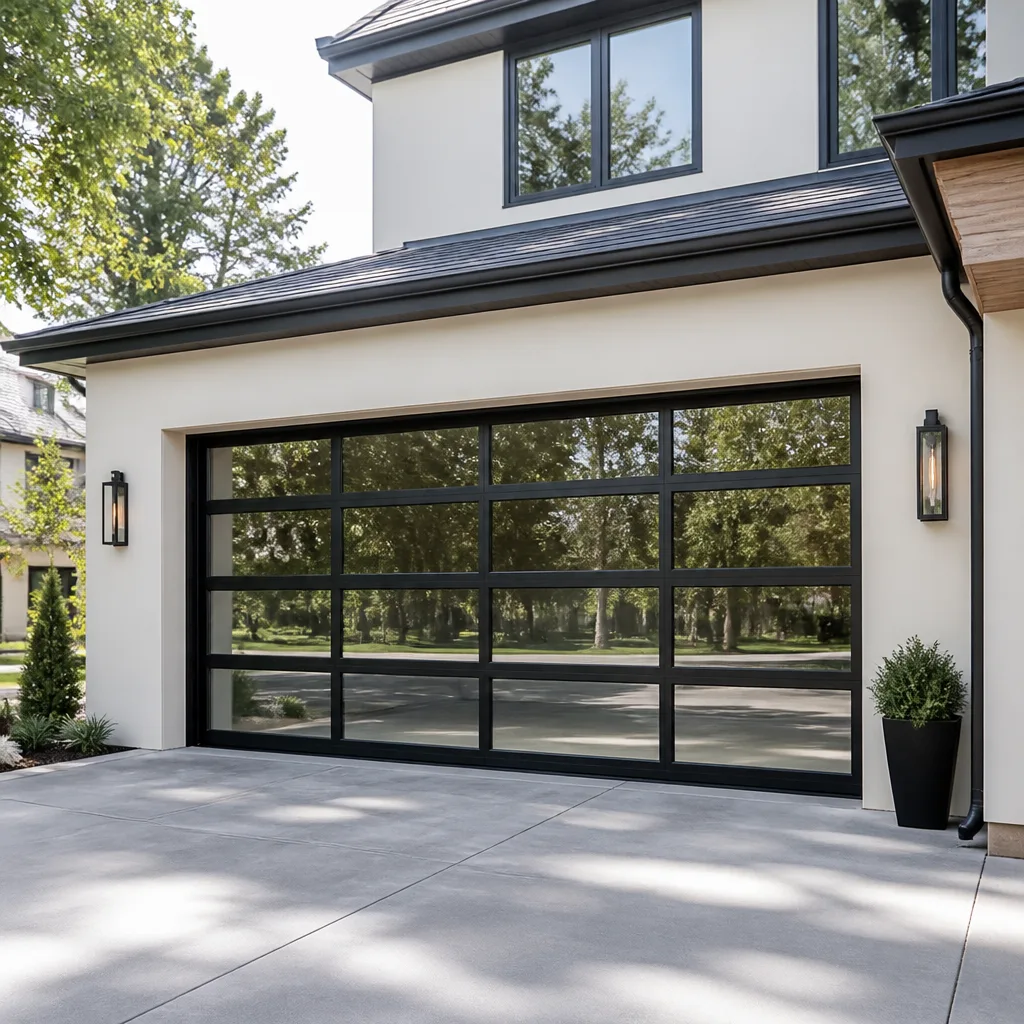 Full-view glass
 LiftMaster openers
 Chamberlain openers
Full 25-point door and opener safety check with every visit - springs, cables, rollers, tracks, and your LiftMaster or Chamberlain opener included
You get a price before we start. It does not change when the truck arrives.
Get your free estimateDIY vs Professional Garage Door: The San Diego Homeowner’s Decision Guide
Every year in San Diego County, emergency rooms treat hand and forearm injuries caused by garage door torsion springs. The physics don’t care how handy you are. A single torsion spring on a double-car door stores roughly 700 pounds of torque, and when that energy releases against an improvised tool, the tool becomes a projectile. This guide and our Garage Door Emergency Preparedness Guide for San Diego Homes exist because the DIY-versus-professional question isn’t really a question of skill. It’s a question of energy, liability, and knowing which repairs reward a Saturday afternoon and which ones punish it. By the time you finish reading, you’ll know exactly where the line sits, what you can safely do yourself this weekend in San Diego, and when your next call should be to a specialist.
Styles & brands we work with
Quick Answer
Four garage door repairs are genuinely safe for a San Diego homeowner with basic tools: sensor alignment, remote reprogramming, weather seal replacement, and lubrication. Two repairs should never be attempted DIY under any circumstances: torsion spring replacement and cable replacement, because both involve stored mechanical energy that can cause severe injury or death. Track realignment sits in a gray zone where we recommend professional equipment and training, but an experienced DIYer can handle minor adjustments. The decisive factors are physics first, California contracting law second, and cost only after safety is settled.
Table of Contents
- The Physics That Make Garage Doors Different
- The Safe DIY Tier: Four Repairs We Genuinely Recommend Doing Yourself
- The Professional-Only Tier: Why Springs and Cables Demand a Trained Specialist
- Track Realignment: The Gray Zone Explained
- California Contractor Law and Your Garage Door
- The Real Cost Comparison: Parts, Labor, and the Hidden Line Items
- How to Diagnose Your Own Door Before Anyone Arrives
- Common Mistakes to Avoid
- When to Call a Professional
- Frequently Asked Questions
- The Bottom Line
The Physics That Make Garage Doors Different
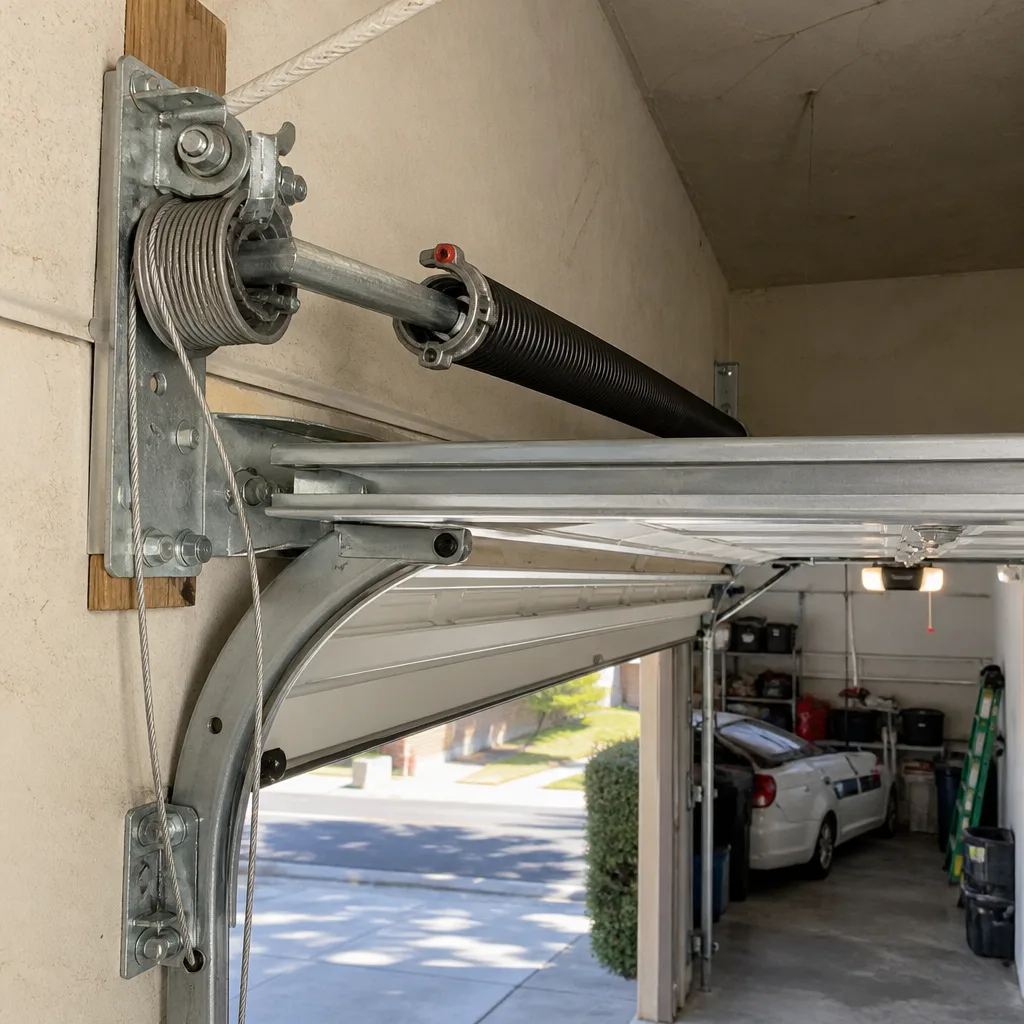
A garage door looks like a simple panel on wheels, but the mechanism that moves it is one of the most energy-dense systems in a typical San Diego home. The average double-car garage door weighs between 150 and 250 pounds. When you open it manually, you’re not lifting that weight; the springs are. Torsion springs mounted above the door wind and unwind with every cycle, storing and releasing the energy that does the actual lifting. A properly balanced door can be lifted with two fingers because the spring system counterbalances nearly the entire panel weight.
That stored energy is the whole story. A torsion spring under tension holds hundreds of pounds of rotational force, and when a spring breaks while someone is working on it, that force releases instantly. The tools used to wind torsion springs are steel rods about 18 inches long, and in accident reports, those rods become dangerous missiles when they slip out of a winding cone. We’ve worked on doors in San Diego neighborhoods from Clairemont to Chula Vista where a previous DIY attempt ended with a bent rod, a cracked garage ceiling, and a homeowner who was fortunate to walk away.
Extension springs operate differently but carry the same hazard profile. They stretch along the horizontal tracks on either side of the door, and when one breaks under load, the jagged end whips through the air. Safety cables are supposed to contain that whip, and many older San Diego homes built before the mid-1990s don’t have them installed. If you’re in a mid-century neighborhood like Allied Gardens or a 1970s development in Tierrasanta, check whether your extension springs have safety cables running through them before you do anything else.
The key point: garage doors are spring-loaded machines. A table saw, a drill press, a circular saw, every tool in your garage operates with a motor or your muscle power. Springs operate with potential energy you can’t see and can’t throttle. That’s what makes this trade fundamentally different from general home repair.
The Safe DIY Tier: Four Repairs We Genuinely Recommend Doing Yourself
Not everything about garage door maintenance requires a technician. In fact, we’d rather see San Diego homeowners handle these four tasks themselves, because they’re safe, they require no specialized tools, and doing them regularly extends the life of the heavier components we do service. Here’s what’s genuinely DIY-appropriate.
1. Sensor Alignment
Your door has two photo-eye sensors mounted about six inches off the floor on either side of the opening. When they’re misaligned, the door will reverse or refuse to close. Most sensor problems come from something knocking the sensor housing, which happens constantly in busy San Diego garages where bikes and ladders lean against the walls.
How to fix it:
- Loosen the wing nut that holds each sensor to its bracket.
- Point both sensors toward each other.
- Tighten one sensor, then adjust the other until its indicator light glows steady.
- Test the door. If it closes without reversing, you’re done.
The entire job takes under ten minutes. If the light on one sensor is off or blinking, check the wiring before assuming the sensor is dead; in coastal areas like Ocean Beach and Point Loma, salt air corrodes wire connections faster than the sensors themselves fail.
2. Remote Reprogramming
If your opener remote stopped working after a power outage or you bought a replacement remote, you don’t need a technician. Every major opener brand has a learn button on the motor unit itself. LiftMaster and Chamberlain units use a purple or yellow learn button. Genie uses a red or black one. Craftsman openers, common throughout San Diego’s older suburbs, use a button that’s often green or purple depending on the model year.
Steps:
- Find the learn button on the back or side of the motor housing.
- Press it once. An LED will light up.
- Within 30 seconds, press the button on your remote.
- The opener light will flash to confirm the pairing.
If your remote still doesn’t work after two attempts, check the battery before assuming the remote is dead. In our experience serving San Diego, at least half of the “dead remotes” we’re called out for simply need a fresh CR2032 or A23 battery.
3. Weather Seal Replacement
The rubber seal along the bottom of your door degrades faster in San Diego than in most climates. Direct sun exposure on south-facing garages in communities like Scripps Ranch and Poway bakes the rubber until it cracks, and once it cracks, dust, leaves, and the occasional lizard get under the door. This is a genuine DIY job that costs under $30 and takes about an hour.
What you’ll need:
- A replacement seal sized to your door width (standard is 16 feet for a double door, 9 feet for a single).
- A flathead screwdriver to loosen the old seal’s retaining channel.
- Dish soap or silicone spray to lubricate the new seal into the track.
Slide the old seal out from one end, clean the channel, and thread the new seal through. Amarr and Clopay doors use slightly different channel profiles, so bring a small sample of your old seal to the hardware store to match the profile. This repair saves a service call and genuinely improves your garage against San Diego’s dry-season dust.
4. Lubrication
Garage doors need lubrication roughly twice a year in San Diego’s climate. Coastal humidity accelerates rust on metal rollers, while inland heat bakes lubricant off the hinges. The right routine is simple and safe:
- Use a white lithium grease or a silicone-based garage door lubricant, never WD-40. WD-40 is a solvent and will strip what’s left of the existing lubrication.
- Apply to the rollers (metal rollers only; nylon rollers are self-lubricating and only need the hinge pins oiled).
- Lubricate each hinge point, the spring coils, and the top of the rail if you have a screw-drive opener.
- Run the door through two full cycles to work the lubricant in.
This is a fifteen-minute job that prevents most of the creaking and grinding sounds we get calls about. Wayne Dalton doors with their proprietary TorqueMaster spring system should be lubricated particularly gently; that enclosed system doesn’t need much and over-greasing can cause the tube to collect debris.
These four tasks cover the safe DIY tier. If your door problem falls outside them, keep reading before you reach for a wrench. The next two categories are the reason this guide exists.
The Professional-Only Tier: Why Springs and Cables Demand a Trained Specialist
There are two repair categories in which no amount of YouTube preparation, mechanical aptitude, or confidence changes the risk calculus. These are the jobs that have put San Diego homeowners in emergency rooms, and the mechanics of injury are well documented.
Torsion Spring Replacement
When a torsion spring breaks, the part itself costs between $50 and $150 depending on size and brand. The labor to replace it runs $180 to $340 in San Diego, and that spread is the reason people consider doing it themselves. The logic seems sound: the part is cheap, so why am I paying a tech $300?
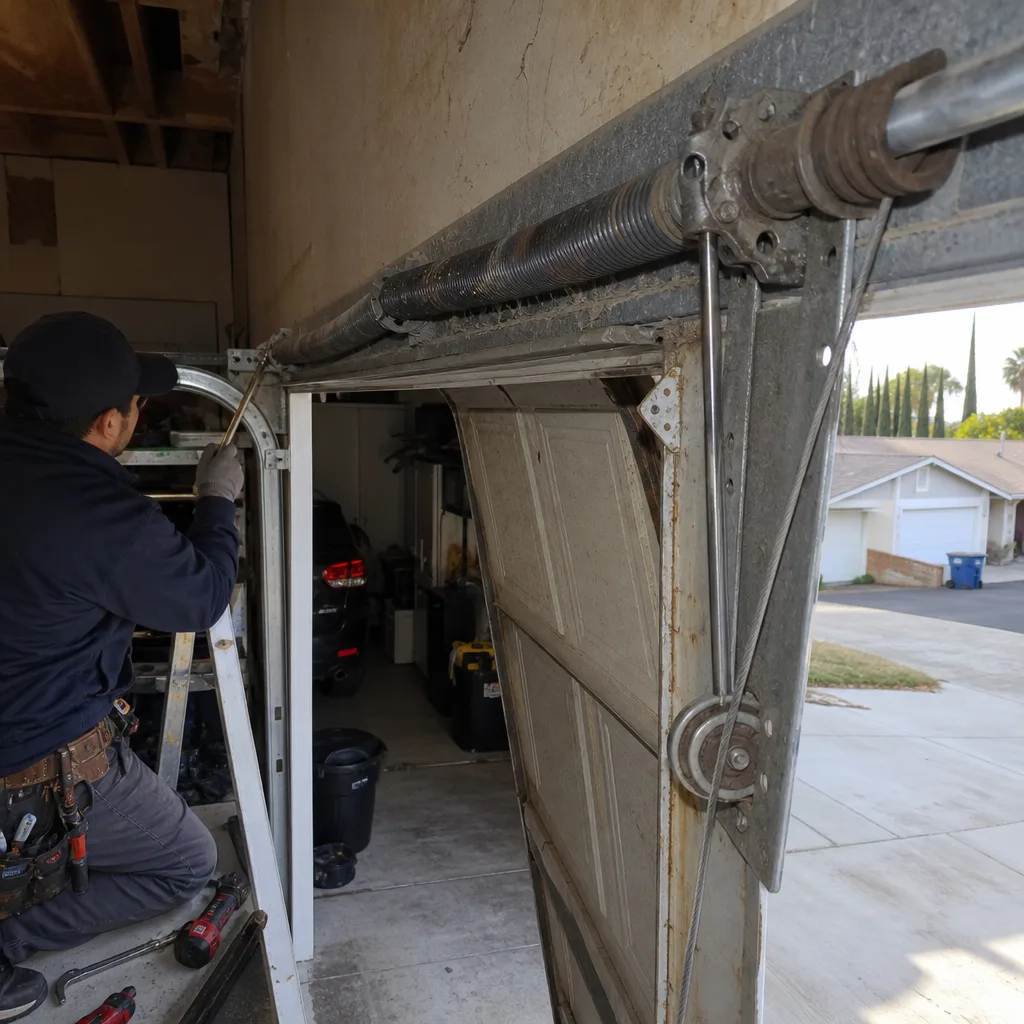
Here’s why: the torsion spring is under full tension at all times, even when the door is closed. Replacing it requires unwinding the old spring or winding the new one using two steel rods inserted into a winding cone. Each quarter-turn adds tension, and a standard double-car door spring requires 30 to 34 quarter-turns. At the final turns, the spring is holding hundreds of pounds of torque. If one rod slips, if the cone is worn, if your ladder is slightly off-center, the release is instantaneous and complete. The rods become projectiles. The spring can fracture. The person on the ladder receives the majority of that released energy.
In our experience across San Diego, every single torsion spring accident we’ve encountered started with a homeowner who had done “a few similar repairs before.” The problem is that this repair has no partial-credit mode. There’s no way to release a little of the energy at a time without winding cones and the right rods. The first time you do it, you’re doing it at full danger, and the technique takes dozens of repetitions to internalize. A YouTube video filmed by someone who has changed 200 springs cannot transfer muscle memory through a screen.
Safety note: if your torsion spring is broken, do not attempt to open the door. Disconnect the opener if possible and call a specialist. A door with one broken spring and one live spring is unpredictable under load and can shift suddenly.
Cable Replacement
Cables work with the springs to lift the door. They run along the vertical tracks and wrap around drums at the top. When a cable frays or snaps, the remaining cable takes the full door weight, which shifts the panel’s balance and can cause the door to jam or drop. Replacing cables looks straightforward: remove the old cable, thread the new one, reattach. But the cables are under load whenever the springs are under load, and the only safe way to relieve that load is to unwind the sprung tension first. That means cable replacement carries the same spring-hazard profile as spring replacement plus the added complication of adjusting cable length on both sides to keep the door level.
A frayed cable on a door with a Clopay or Amarr panel, especially the heavier wood-composite models found in custom homes in La Jolla and Del Mar, changes the load distribution in ways that aren’t obvious from the ground. If the door is pulled unevenly for even a few cycles, the track can bend, the rollers can pop out, and the repair bill jumps from cable replacement to full system correction. We’ve seen a $200 cable job become a $900 track-and-spring job because someone disengaged the door incorrectly while trying to save the cable cost.
The rule we tell every San Diego homeowner: if the repair requires touching anything under spring tension, the professional call has already made itself. That includes springs, cables, and the cable drums. These are not parts swaps. They are energy system work.
Track Realignment: The Gray Zone Explained
Track realignment is where honest guidance gets complicated. Unlike springs and cables, tracks don’t store energy. They guide the door’s wheels, and when they’re bent or knocked out of alignment, the door shudders, gets stuck, or runs loudly. The risk level depends on what’s actually wrong.
Safe-ish DIY track work: If your vertical track has shifted slightly outward from a bumped ladder or a car bumper glancing it, you can often fix it with a rubber mallet and a level. Loosen the bracket bolts, tap the track back to plumb, retighten, and test the door. This works when the track itself isn’t bent and the shift is under about a quarter-inch. The key safety point: the vertical track is under minimal tension, but you should still disconnect the opener and work with the door closed so it can’t roll unexpectedly.
Not safe DIY track work: If your horizontal track is bent, if the track flange is deformed, or if the misalignment is more than a quarter-inch, you’re dealing with a structural issue that affects the entire balance of the door. Straightening a bent track requires removing it from the wall, which puts tension on the cables and drums the moment the door is moved. At that point, you’ve crossed into spring-system territory without having planned to. The same applies to track sections that have pulled away from the wall in multiple points; those indicate damage from an unbalanced door, not a single accidental bump.
We’ve worked on San Diego homes where a homeowner successfully realigned a shifted vertical track, and we applaud those. We’ve also worked on homes where a homeowner attempted to “bend back” a horizontal track and ended up with the door wedged halfway open and the cable spooled off the drum. If you’re not sure which category you’re in, the diagnostic step is simple: look at whether the track is shifted or actually bent. Shifted you can fix. Bent means a professional with a full new track section.
For a deeper look at what professional track and door service involves, see our Garage Door Repair in Rancho Santa Fe page.
California Contractor Law and Your Garage Door
Here’s the part most DIY guides skip, and it matters specifically for California homeowners. Under California Business and Professions Code Section 7028, it is a misdemeanor for an unlicensed person to perform contracting work valued at $500 or more in combined labor and materials. “Contracting work” includes home improvement performed for another person, and the $500 threshold is a hard legal line, not a suggestion.
For a San Diego homeowner working on their own primary residence, DIY work is generally exempt from licensing requirements. You can repair your own door without a contractor’s license, and that’s true throughout California. The complication arrives in two scenarios:
- If you hire an unlicensed neighbor, handyman, or casual laborer to perform garage door work that exceeds $500 in total cost. That person is operating illegally, and if they’re injured on your property, your homeowner’s insurance may deny the claim. In California, unlicensed contractors who are injured while performing work requiring a license have a legal path to sue the homeowner under the doctrine of peculiar risk.
- If you plan to sell the home. California sellers must disclose known defects and unpermitted work. A DIY repair that wasn’t done to code, or a door system that fails inspection, can complicate a sale or reduce the sale price. In San Diego’s competitive real estate market, a garage door that operates correctly and has documented professional service is an asset during a home inspection; a DIY-modified door with non-standard parts can be flagged as a defect.
The practical takeaway: your house, your door, your tools, DIY as you like within the safe tiers we’ve described. But the moment you pay someone else to do the work, or the moment the work touches the spring system, the legal environment changes. Hire a properly licensed, bonded, and insured specialist for those jobs, not because the law requires a specific license number in every case, but because unlicensed work in the spring-and-cable category creates a liability chain that no savings is worth.
For homeowners considering a full door replacement, which is always a professional job, see our Garage Door Installation in Rancho Santa Fe page for what the process involves.
The Real Cost Comparison: Parts, Labor, and the Hidden Line Items
The question most San Diego homeowners actually want answered is whether DIY saves meaningful money. Here’s the honest math, including the line items most online cost guides leave out.
A typical torsion spring replacement in San Diego:
- Part cost (DIY): $60 to $150 for a matched spring pair, depending on door weight rating and wire size.
- Wind bar set: $25 to $50 if you don’t already own them.
- Professional cost in San Diego: $180 to $340 total, parts included, with the job completed in 45 to 90 minutes.
- DIY hidden costs: The spring that arrives with the wrong inner diameter or coil gauge (we see this constantly; torsion springs are matched to the exact door weight, not just the door size), the second trip to the supply house, and the risk profile that can’t be priced in dollars.
A typical opener repair or replacement:
- DIY cost: $150 to $300 for a new opener unit, plus tools, plus an hour or two of installation, plus alignment of the sensors and safety reverse settings.
- Professional cost in San Diego: Varies by opener brand and horsepower; a LiftMaster or Chamberlain unit installed runs higher than a budget Craftsman. The installation includes safety reverse testing, force-setting calibration, and usually a warranty on the install work.
- The hidden line item nobody mentions: A DIY opener install carried out incorrectly can void the manufacturer’s warranty on the opener itself. LiftMaster and Chamberlain both require installation by a qualified technician or provide warranty coverage only when installation follows the official manual exactly. If your DIY install damages the logic board or gear, that warranty claim is denied. We’ve seen San Diego homeowners argue this with manufacturers, and the fine print almost always wins.
What actually saves money DIY:
- Weather seal replacement: $25 in parts versus a $150 to $200 service call.
- Sensor realignment: $0 in parts versus a $100 to $150 diagnostic call.
- Remote reprogramming: a $5 battery or $30 remote versus a $120 trip charge.
- Regular lubrication: $10 in lithium grease versus the premature replacement of rollers and hinges at $200 to $400.
The pattern is clear. The safe DIY tier genuinely saves money because the parts are cheap and the labor, were you to hire it out, is mostly trip-and-diagnosis cost. The professional tier costs more because it’s not a parts cost at all. It’s paying for the controlled release of stored energy, proper calibration, and the elimination of a catastrophic failure mode. In San Diego, where the median home value makes garage functionality a meaningful part of property condition, the math favors hiring out the dangerous jobs and doing the safe ones yourself.
If the diagnostic work leads you to an opener issue specifically, Garage Door Opener Repair in Rancho Santa Fe covers what that repair involves.
How to Diagnose Your Own Door Before Anyone Arrives
There’s a meaningful difference between doing the hands-on repair yourself and understanding what’s wrong before a technician arrives. The latter is smart, always safe, and saves you money by preventing misdiagnosis and unnecessary part replacements. Here’s how to diagnose your garage door in ten minutes.
Step 1: Watch a full cycle. Open the door, close it, and listen. A smooth rattle that sounds like a shopping cart wheel is usually a worn roller. A sharp bang from above the door when it moves is a spring issue. A grinding from the motor housing is an opener gear. A squeal every time the door moves past a certain point is a hinge or roller bearing.
Step 2: Disconnect the opener and lift the door manually. Tug the red release cord, then lift the door by hand. A properly balanced door will stay at waist height when you release it. If it drops, the springs are worn or broken. If it flies up, the springs are over-tensioned. Both conditions mean the opener is working harder than it should, which shortens its life.
Step 3: Inspect the springs visually. Look above the door. A torsion spring with a visible gap in the coil is broken. An extension spring that’s stretched or sagging with a gap at one end is broken. Do not touch anything here. Visual inspection only.
Step 4: Check the rollers. Metal rollers with flat spots or chips are done. Nylon rollers with cracks in the wheel are done. This is a part-replacement job that’s safely DIY on many doors, but if you have a high-tension setup or the roller carrier is riveted rather than bolted, it crosses into professional territory.
Step 5: Test the safety reverse. Place a 2×4 on the ground under the door’s path, then close the door. It should reverse within two seconds of contacting the wood. If it doesn’t, the safety reverse is misadjusted. This is a simple opener setting adjustment and a genuine safety issue that every San Diego household with children or pets should test periodically.
Armed with this diagnostic picture, you can call a technician and describe exactly what’s wrong. That protects you from unnecessary upselling, because you already know whether the problem is mechanical, electrical, or spring-related. The Admiral Garage Door Repair home page covers the full scope of what a specialist service looks at.
Common Mistakes to Avoid
- Using WD-40 to lubricate a garage door. WD-40 is a water displacer and solvent, not a lubricant. It strips existing grease and leaves metal parts drier than they started. Use white lithium grease or a dedicated garage door lubricant instead.
- Buying replacement torsion springs by “door size” alone. A 16×7 door in a coastal San Diego home with a light steel panel needs a completely different spring gauge than a 16×7 wood-composite door in Rancho Santa Fe. Springs are rated by wire diameter, coil length, and inner diameter, all matched to the exact panel weight. Guessing the spring rate is how DIYers create unbalanced doors.
- Tightening the track bolts while the door is open. With the door up, the springs are unwound and the cable tension is different than when the door is closed. Adjusting track position in that state can lock in a misalignment that only appears when the door closes.
- Replacing only the broken spring on a two-spring door. If one spring snapped, the other is the same age and has cycled the same number of times. Replacing only the broken one leaves a mismatched pair, which creates an unbalanced door and shortens the life of the new spring. San Diego doors that cycle daily hit roughly 10,000 cycles in about seven years, and both springs age in lockstep.
- Ignoring the safety reverse test. Since 1993, federal law has required photo-eye sensors on residential garage door openers, and the safety reverse mechanism is the last line of defense between a closing door and a child or pet. A door that doesn’t reverse on contact is not fixed until that function works. This is a code-level and safety-level issue, not a convenience.
- Disconnecting the opener with the door stuck halfway. If the door is jammed mid-travel and you pull the release cord, the full weight of the door transfers to the cables and springs in an instant. If a cable or spring was the cause of the jam, that sudden load can snap the remaining components. Always assess the jam before releasing the opener carriage.
When to Call a Professional
Call a licensed garage door specialist when the problem involves the torsion spring, extension spring, cables, cable drums, or a bent track. These are the jobs with real injury potential and no realistic path to a safe DIY outcome. Call a professional if DIY diagnostic work points to an opener logic board failure or motor replacement, because opener internals require electrical understanding and specific part matching to your brand. Call a professional if the door was installed before 1993 and lacks photo-eye sensors, because retrofitting safety systems onto older doors is a code-sensitive job. And always call a professional if your door operates unevenly, scrapes one side, or has a spring that’s visibly broken. Garage Door Repair in Rancho Santa Fe covers the professional scope in detail. Admiral Garage Door Repair offers free estimates in San Diego; call (833) 467-4069 to schedule one.
Frequently Asked Questions
Torsion spring replacement in San Diego typically ranges from $180 to $340 including the springs and labor, with the price varying by door weight, spring wire diameter, and access conditions. Call (833) 467-4069 for a specific quote on your setup; estimates are free and the price is agreed before any work starts. For more guides & resources, visit our blog.
No. Torsion and extension springs carry hundreds of pounds of stored mechanical energy, and the tools used to service them become dangerous projectiles if they slip. Even experienced DIYers are regularly injured by this repair. Hire a trained professional with the right winding bars and technique.
You can safely realign photo-eye sensors, reprogram remotes, replace bottom weather seals, and lubricate rollers, hinges, and springs. These four tasks require basic tools, carry no significant injury risk, and genuinely extend the life of your door.
It can. Opener manufacturers including LiftMaster and Chamberlain limit warranty coverage when installation or repair doesn’t follow their official procedures. A DIY install that damages the unit typically voids the warranty. Door panel manufacturers similarly expect professional installation for warranty validity on new-door purchases.
No, if the job exceeds $500 in combined labor and materials. California law requires a contractor’s license for work above that threshold, and hiring unlicensed workers exposes you to liability if they’re injured. Always verify licensing and insurance for the spring and cable category specifically.
Look at the springs above the door. Visible gaps in the coil, rust pitting, or a door that’s becoming heavier to lift manually all indicate springs near the end of their service life. Most residential springs are rated for about 10,000 cycles, which translates to roughly seven to ten years of daily use in San Diego.
The Bottom Line
The DIY versus professional decision on a garage door comes down to energy and law, not skill or savings. Four tasks are genuinely safe and worth doing yourself: sensors, remotes, seals, and lubrication. Two tasks are never safe: springs and cables. Track work straddles the line depending on whether the track is shifted or bent. California’s contractor laws add a legal dimension to the spring-cable category that most guides ignore, and the true cost of DIY includes warranty loss, extra trips, and risks that no part discount justifies. Diagnose your own door to protect yourself from upsells, then call a licensed specialist for the stored-energy work. Admiral Garage Door Repair handles springs, cables, tracks, openers, and full installs across San Diego. Call (833) 467-4069 for a free estimate.
Written by the team at Admiral Garage Door Repair, serving San Diego since 2015.
See the difference
 Before
 After
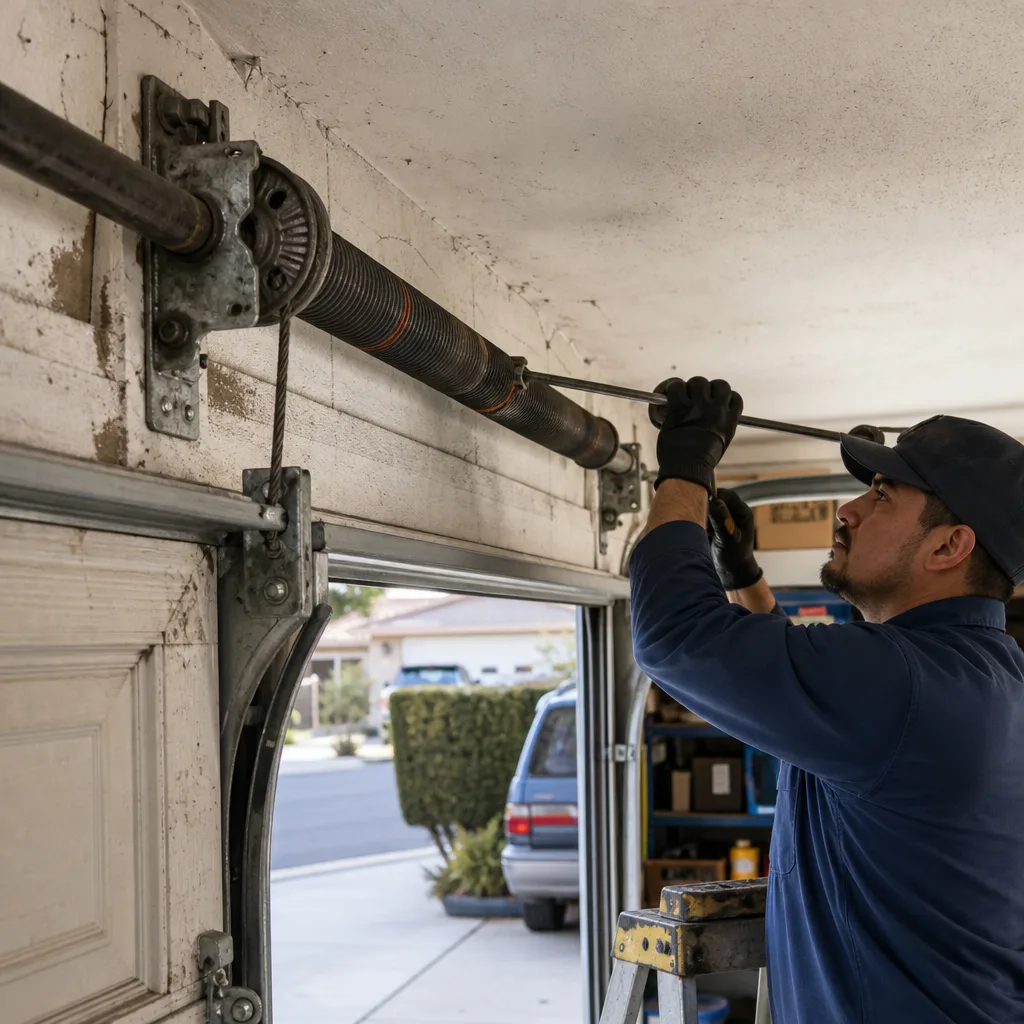 Before
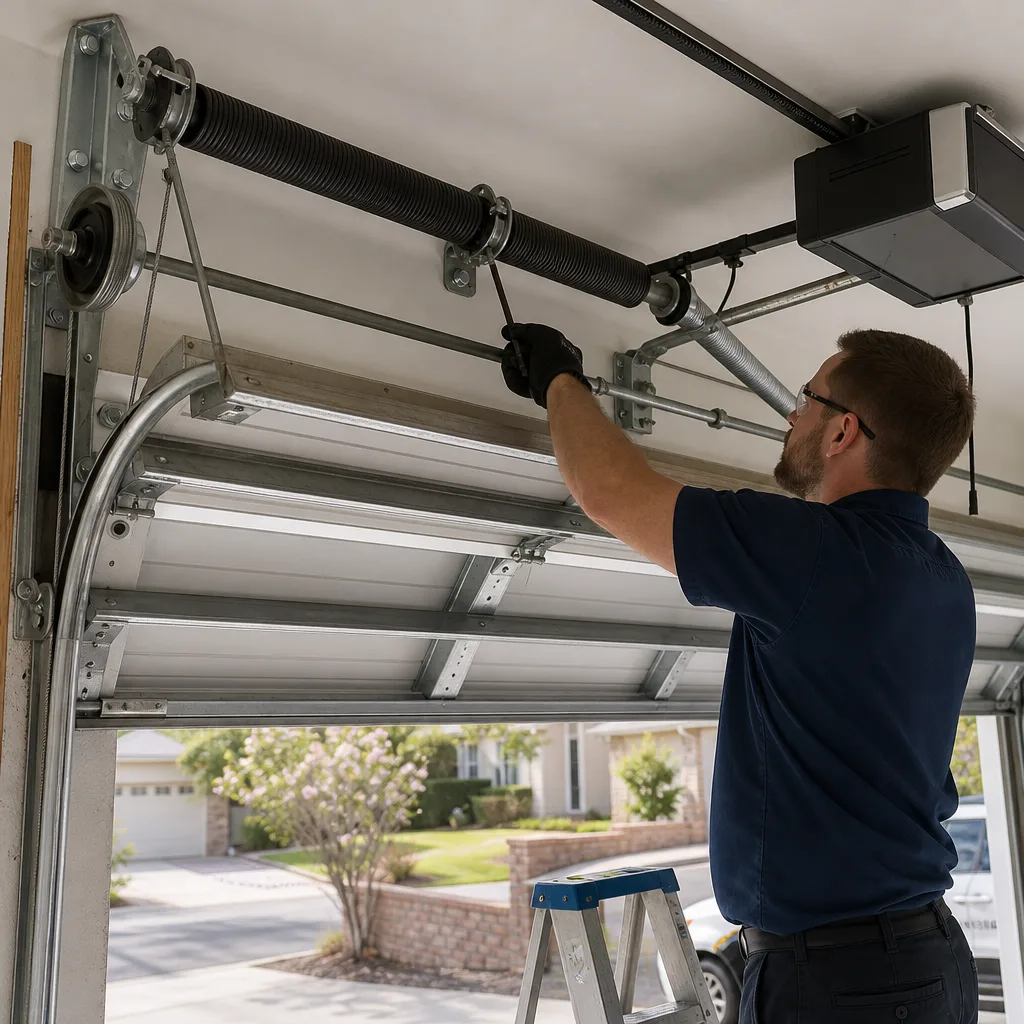 After
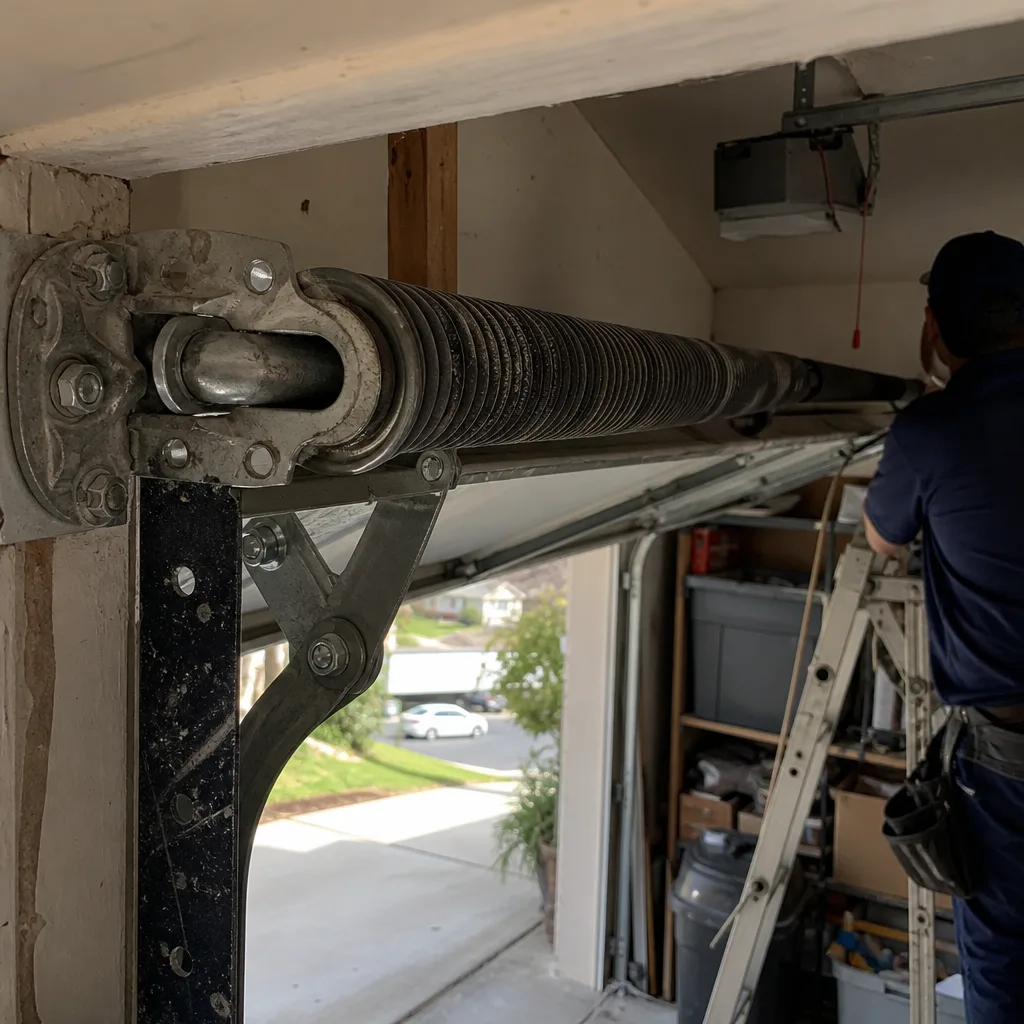 Before
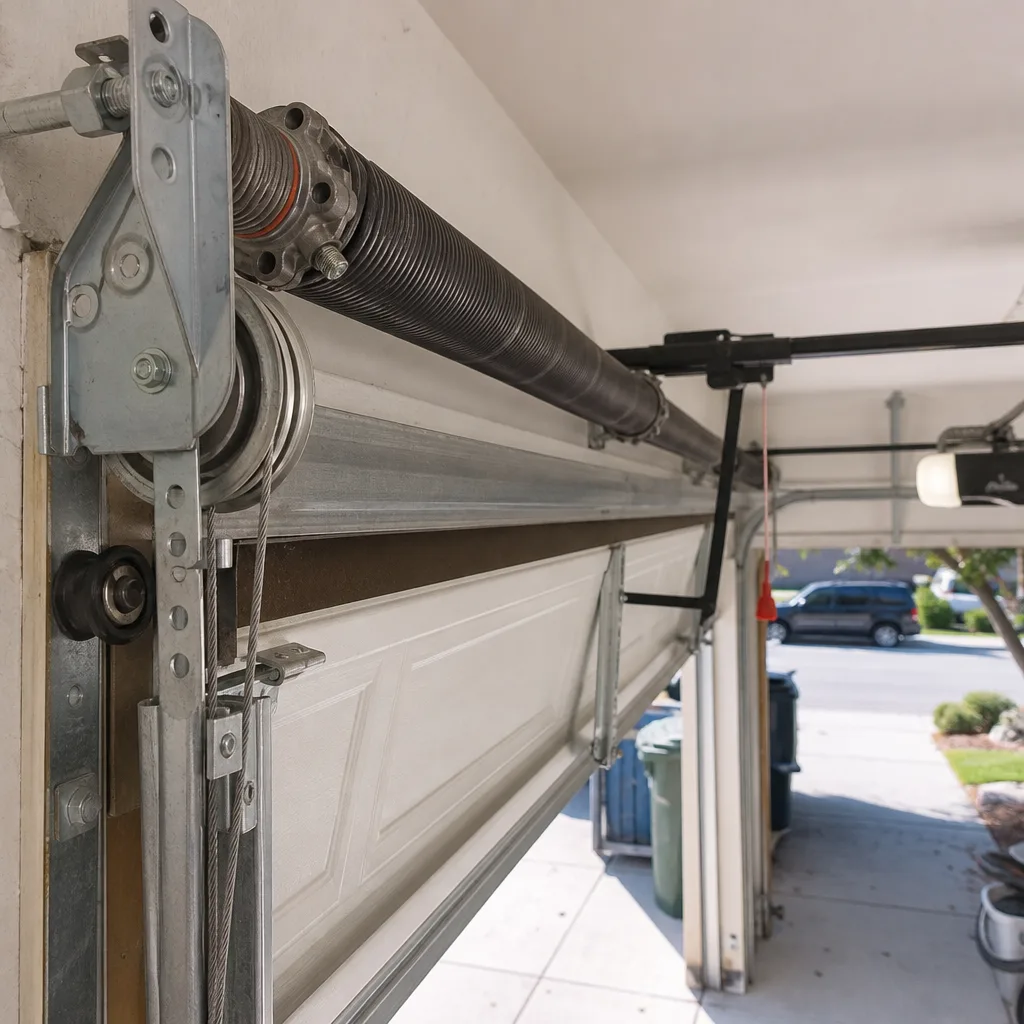 After